 4 months ago
17
4 months ago
17
It was about a decade ago that I first got into 3D printing, thanks to Ultimaker loaning its 3D printers to user groups, makerspaces, and schools. My local makerspace received a unit, and from there, I was hooked on what you could create using nothing more than X,Y, Z coordinates and blobs of molten plastic. In the early days, though, the laser cutter truly stole my attention.
I’ve owned a few 3D printers since then:
- Anet A8
- Creality Ender 2
- Creality Ender 2 Pro
- Elegoo Neptune 3 Pro
- Elegoo Centauri Carbon
The Anet A8, nicknamed “Firestarter” because of its ability to do exactly that, I built from scratch, and it took a few days. The prints were fine, but lacked clarity, and I had to hack everything to make it work, unlike today's 3D printers, which “just work”.
I really got into my stride with the Creality Ender 2 Pro. It was a fantastic 3D printer to learn the basics, and now it’s helping my nephew take his first steps into the hobby. I upgraded the Elegoo Neptune 3 Pro, and it has been a great 3D printer, if a little slow these days. I use it more for TPU prints now, as there is no Bowden tube, and filament goes directly into the extruder.
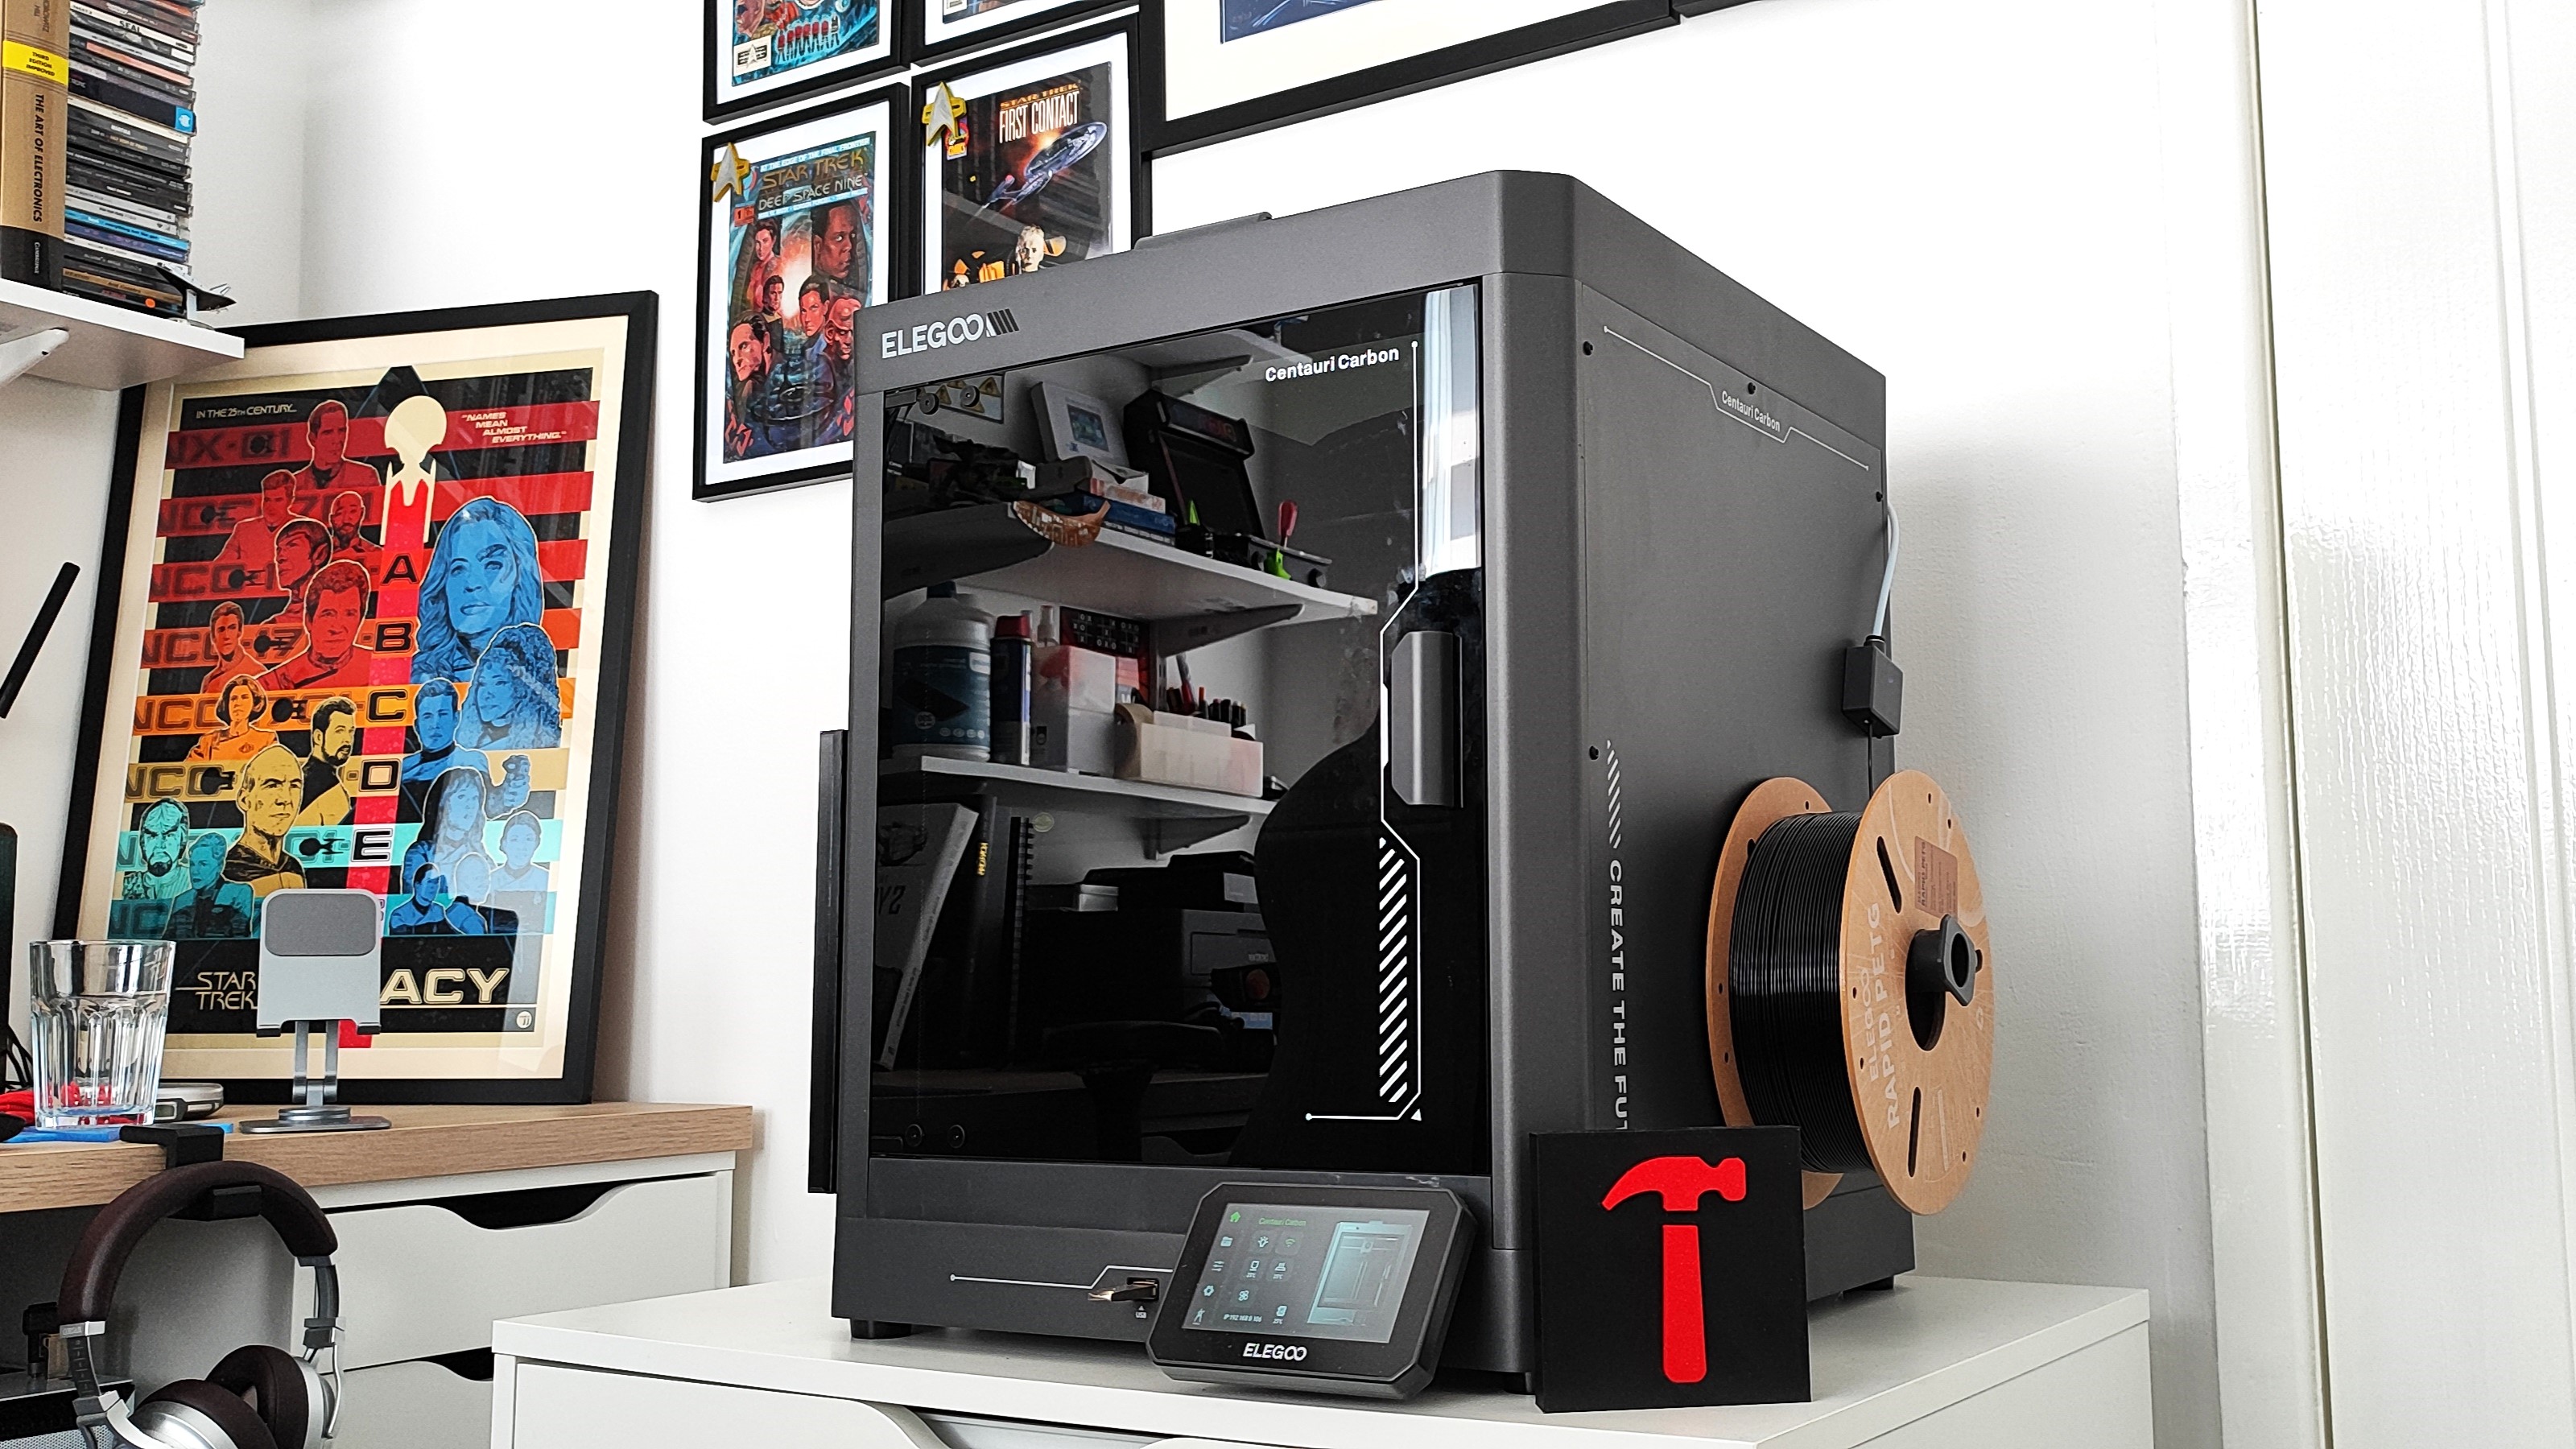
But it’s my current 3D printer, Elegoo’s Centauri Carbon, which has proven to be the workhorse that I needed. And to prove that, I have 3D printed an entire server case, using 1.4 kg of PETG filament. It took a total of 37 hours of printing to make this server, and amazingly, I had no failed prints!
The $299 Centauri Carbon is a damn good printer, which is why
our reviewergave it four stars and the Editor’s Choice award. When the printer went up for sale, I grabbed one and then waited two months for it to ship. When I got it, I made the usual projects: a benchy, attachments for tools, and even a
PC first aid kit. But before long, I knew I had to try something more adventurous.
Elegoo Centauri Carbon Specifications
Swipe to scroll horizontally
Build Volume | 256 x 256 x 256 mm (10.07x10.07x10.07 inches) |
Material | PLA/PETG/TPU/ABS (up to 320 C) |
Extruder Type | Direct Drive |
Nozzle | .4mm |
Build Platform | PEI-coated steel flex plate, both smooth and textured, heated |
Bed Leveling | Automatic, including Z offset |
Filament Runout Sensor | Yes |
Connectivity | Wi-Fi, USB Flash Drive |
Interface | 4.3-inch Color touchscreen |
Machine Footprint | 398x404x490 mm (15.60x15.90x19.29 inches) |
Machine Weight | 17.5 kg (38.58 pounds) |
The Elegoo Centuari Carbon is a Core XY printer. In other words, instead of the bed moving backwards and forwards, the print head moves along the X and Y axes. The print bed moves down (Z axis) as each layer is completed. Core XY printers generally have better speed thanks to how they move, but also in many cases because they use Klipper firmware (or a fork of Klipper) instead of the older Marlin firmware. The print chamber of the Centuari Carbon is fully enclosed, and while it lacks a heated chamber, all of the PETG and PLA that I have printed with has been fine.
So what did I print?
I wanted to push the Elegoo Centauri Carbon (and myself) to build a big project, and because I have a plethora of PC parts laying around, I chose to 3D print a NAS ITX PC case, specifically Haydn Bao’s Modcase MASS (Modular Attached Storage Stack) which is an exquisitely designed case, and the basic model is free! The premium model is only $27, a crazy low price considering the quality of the free version, but what do you get in the premium model?
Swipe to scroll horizontally
Drive Bays | Up to 10 x 3.5 inch, 3 x 2.5 inch drivers | 4 x 3.5 inch, 3 x 2.5 inch |
PCI-E Slot | One slot, low-profile | None |
PSU | SFX, SFX-L, FlexATX | SFX, SFX-L |
Fans | 3x 140mm or 120mm | 3x 140mm or 120mm |
CPU Cooler | 66mm tall | 55mm tall |
Printer Requirements | Min. Bed 210x210, 240C Nozzle | Min. Bed 200x200, 240C Nozzle |
Core Size (APU) | 210x199x162mm 6.7L | 203x199x151mm 6.1L |
Bay Module | 199x162x150mm 4.8L | 199x150x150mm 4.5L |
Motherboard | ITX | ITX |
Material | 1-2kg PETG | 1-2kg PETG |
Handles | Low profile and standard options | None |
Display Mod | Up to 7 inches | Up to 5 inches |
Additional 2.5" Bays | Optional mounts for 2x2.5" drives in a 3.5" bay | None |
Mechanical PBT | Optional: use keyboard switch as power button | Optional: use keyboard switch as power button |
Chiefly, the premium model has an extended APU, the section where our motherboard resides, for a low-profile PCIe card, and it can take a taller CPU cooler. The drive bay section can accommodate ten 3.5-inch drives, whereas the free version only has space for four. In other words, the free version has enough features for most users, but if you need the extra space for more storage or other features, it’ll be well worth the $27 asking price.
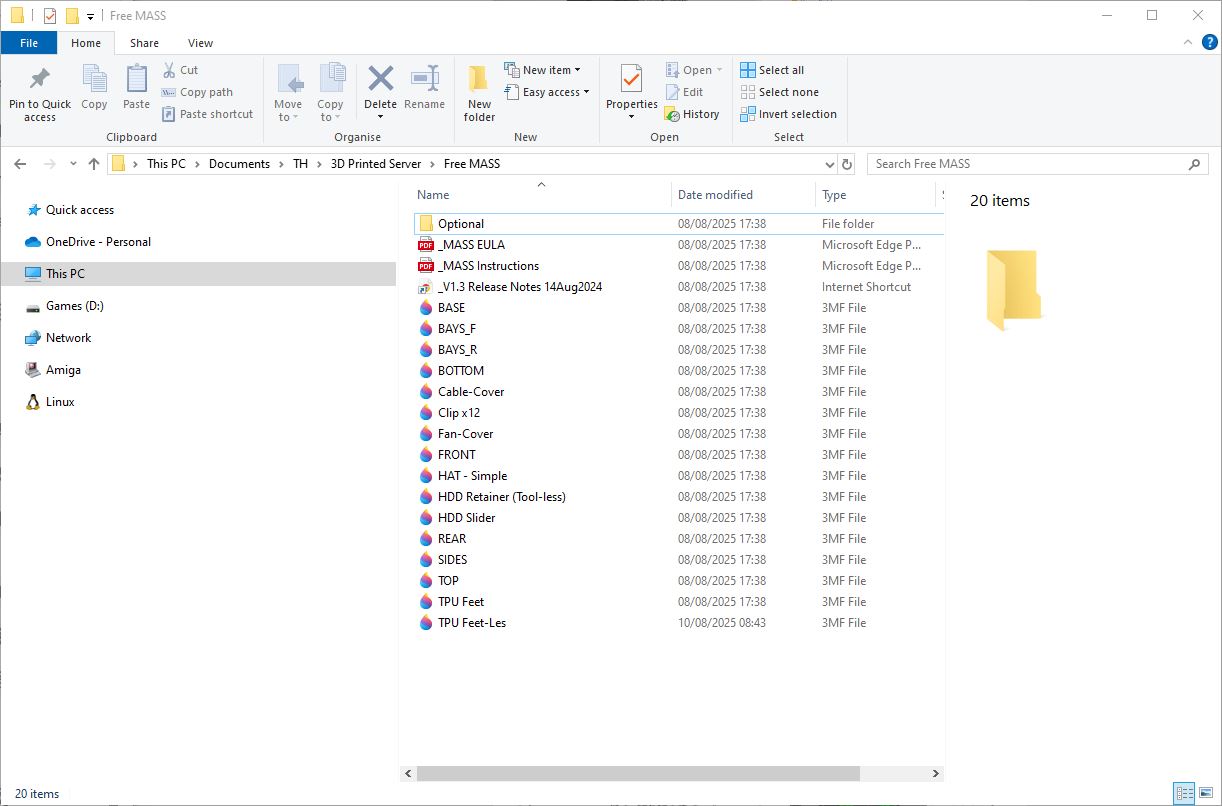
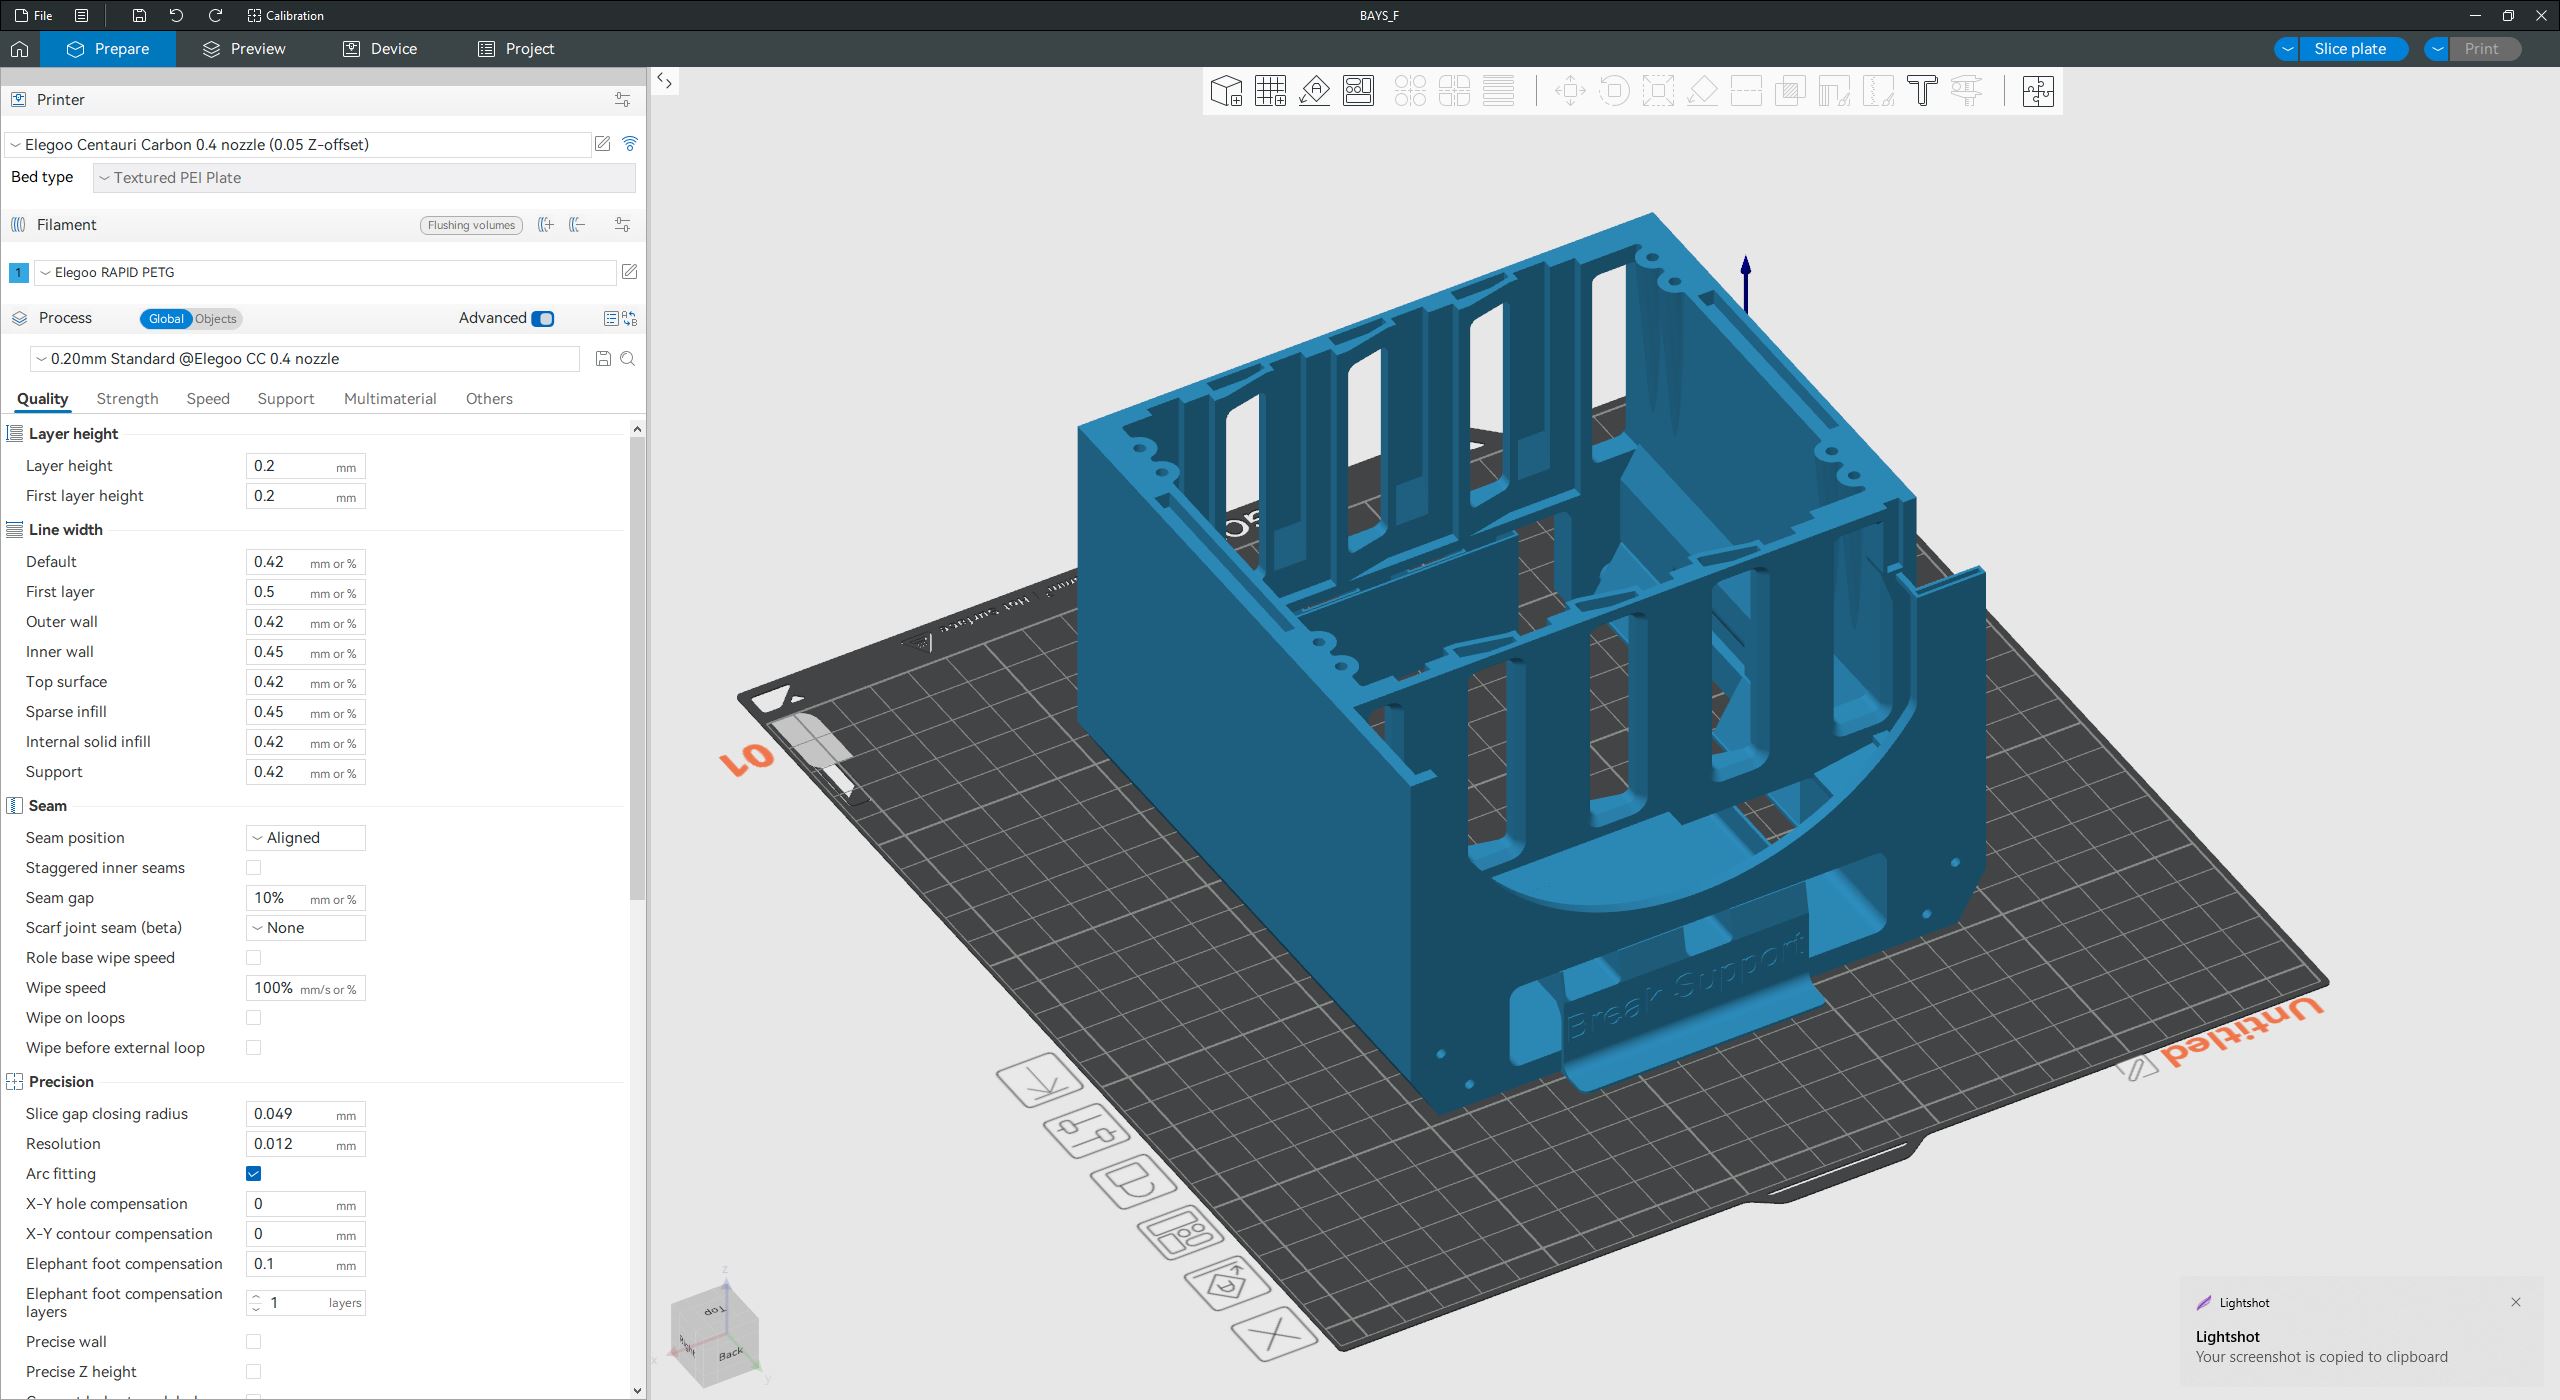
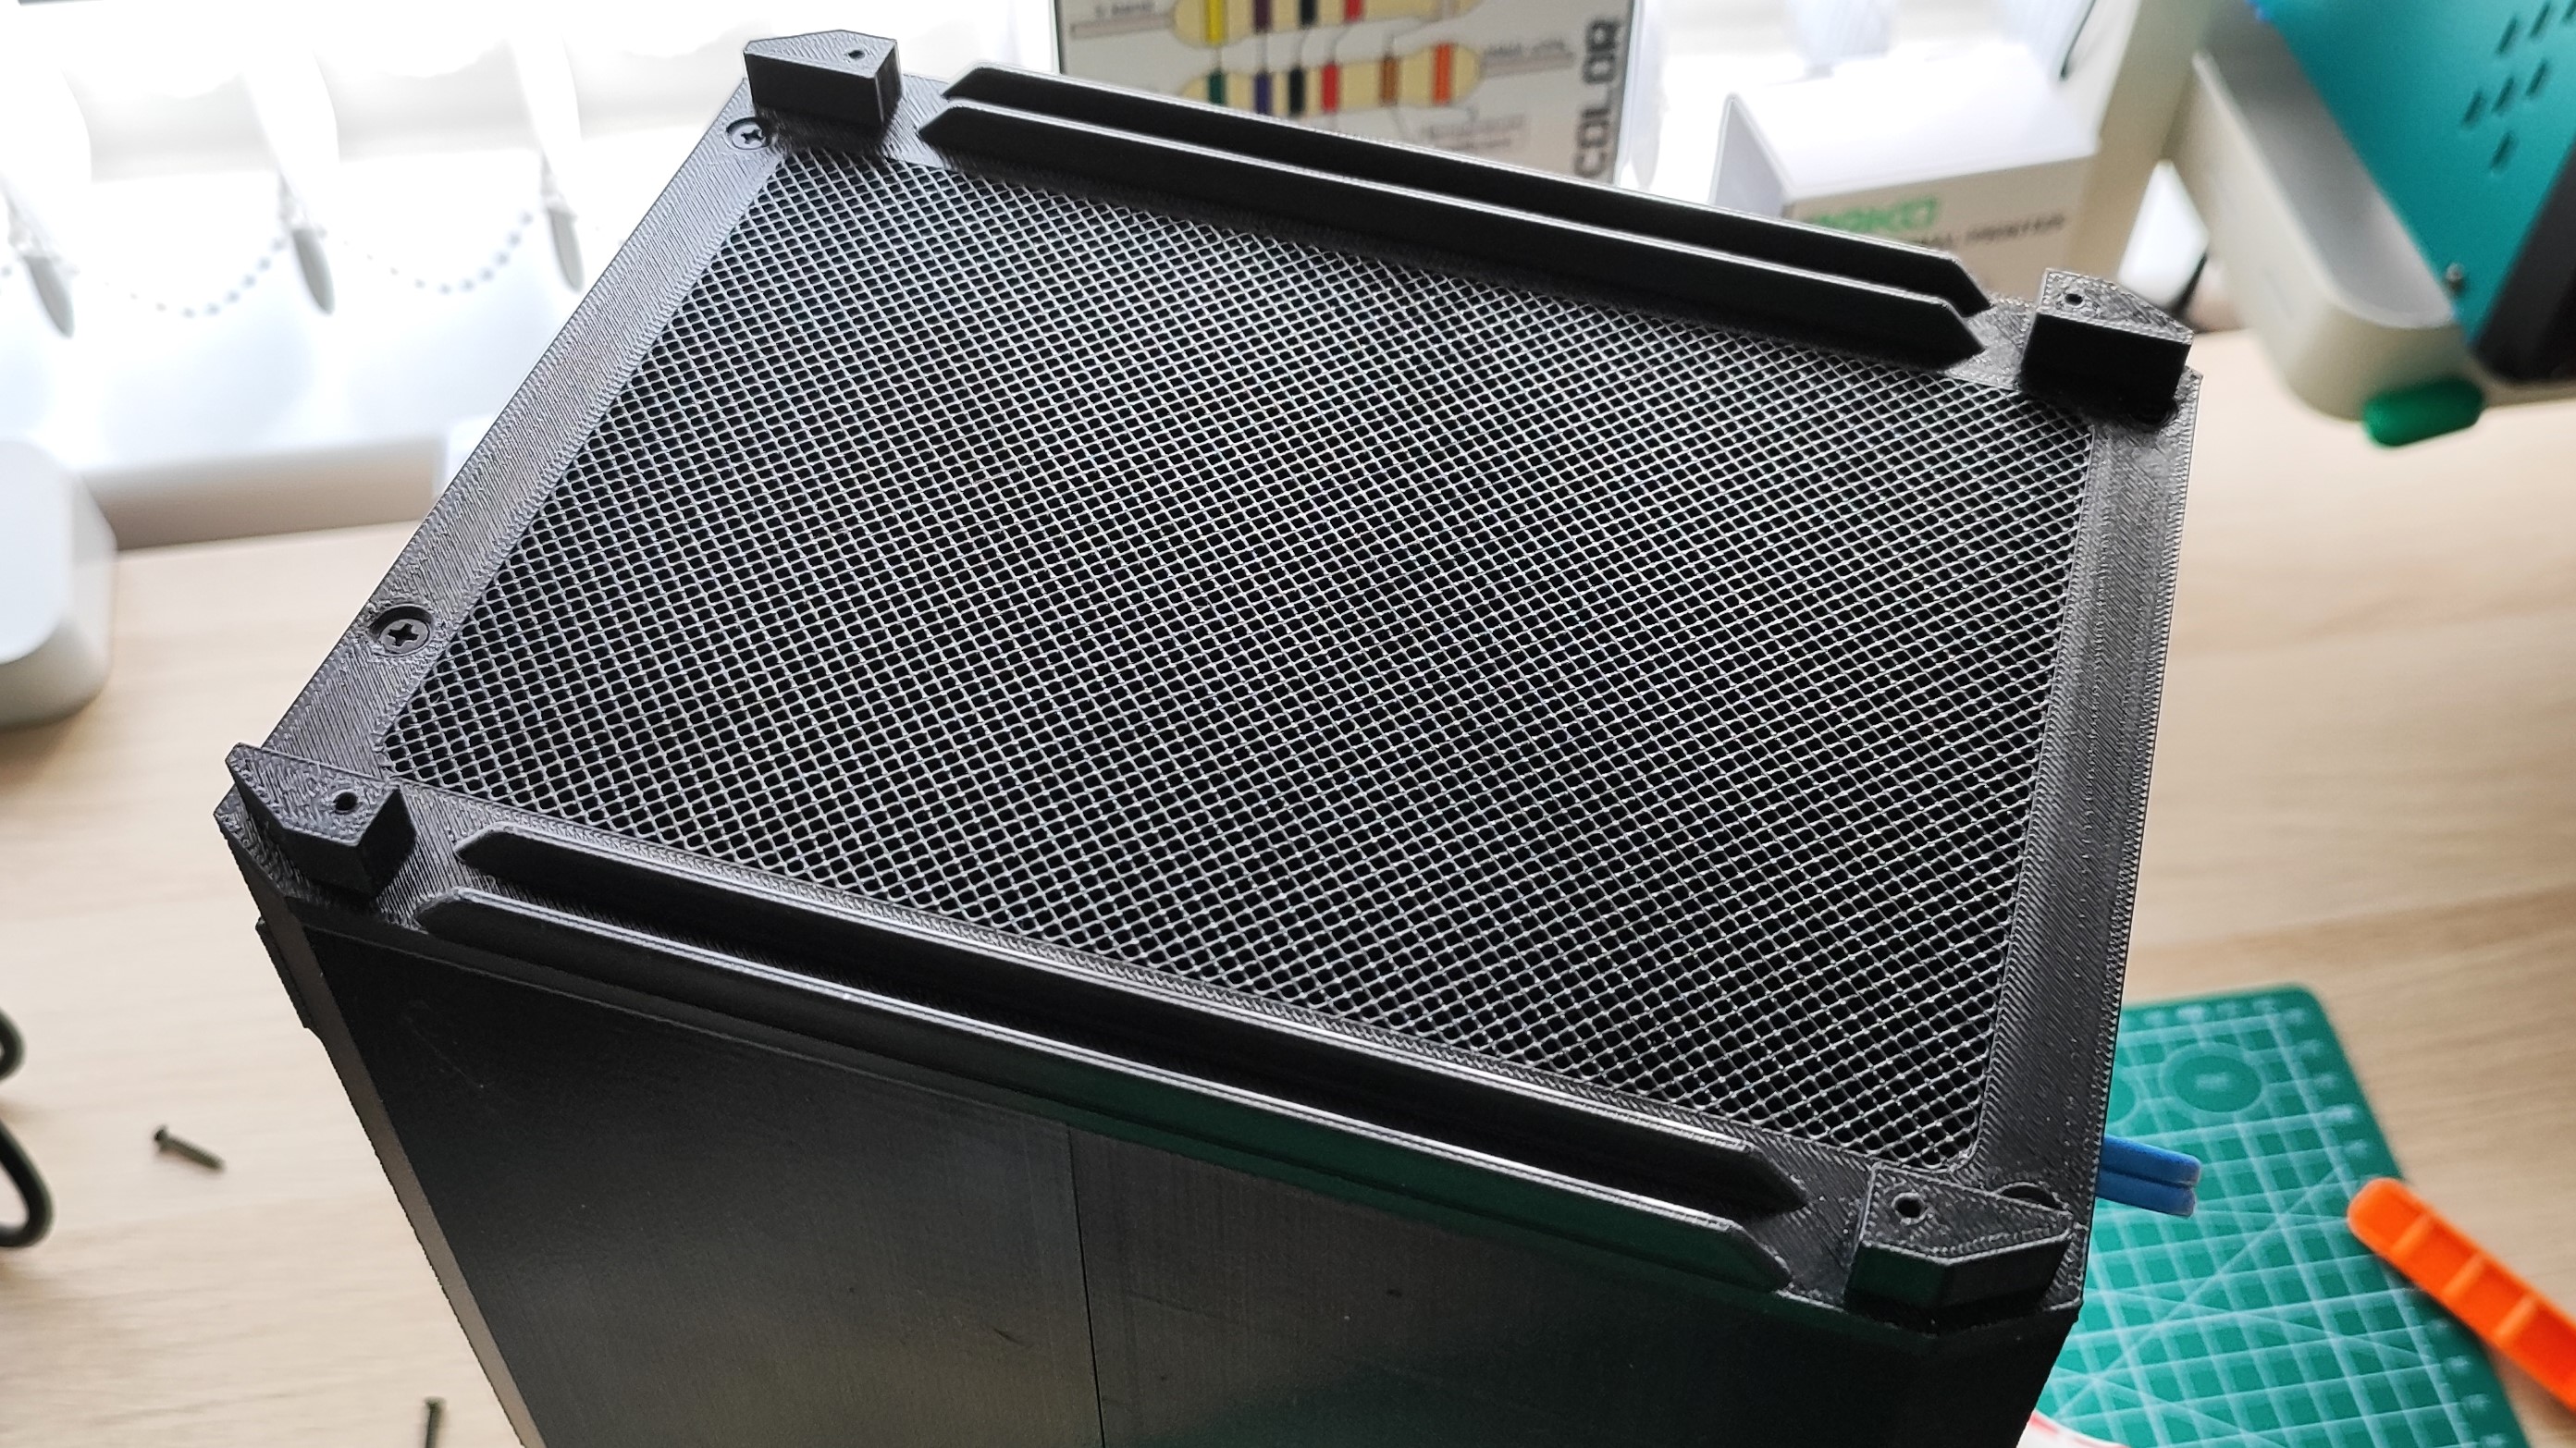
The 3D print files, provided in 3MF format, are exquisite. Bao clearly knows how to use a CAD application, and the files come with built-in supports designed to break away without leaving a mark. You are free to add your own supports, but I never needed any more than those added by Bao. The instruction manual details the Bill of Materials (BoM), the assembly instructions, and detailed instructions on 3D print slicing settings. Printing the mesh panels in particular has blown away many of the Tom’s Hardware editorial team – they are just so damn good.

The prints all came out perfect the first time, every time. This is a mix of great 3D models, great instruction, and the speed and precision that the Elegoo Centauri Carbon’s Core XY setup.
Surely it wasn’t all plain sailing?
From the MASS 3D model point of view, it was flawless. But I did hit a couple of hiccups, and those were down to the Elegoo Centauri Carbon. I started with half a roll of PETG filament, and I soon ran out and had to swap in a fresh roll. The filament change process was perfect. The Centauri Carbon told me it needed more filament, paused the print, and returned the print head to the purge chute at the back of the unit. I removed the old roll, placed the fresh one in its place, and snipped the end so that it could navigate the Bowden tube that leads to the direct drive extruder. It got there, I could feel it touch the extruder gears.
I pressed the load button, and the extruder heated up to 250 degrees C (for PETG), and the gears turned, but no PETG was “pooped” from the purge chute. I had to remove the filament, snip the end again, and re-insert. This time it caught, and the print was back on, but for about five minutes I was a little worried. This happened a second time when I swapped to the current filament. I’m not sure if it is a bug in the machine, or user error. I’ll keep an eye on it. That said, I didn’t lose a print, and the output was perfect, so I am happy to chalk this up to user error.
How long did it take, and how much filament did I use?
Swipe to scroll horizontally
Hat | 1h 33m | 65.77 |
Top (APU) | 2h 46 | 101.85 |
Front (APU) | 3h 18m | 130.94 |
Rear (APU) | 2h 8m | 73.31 |
Side 1 (APU) | 1h 38m | 79.67 |
Side 2 (APU) | 1h 38m | 79.67 |
Bottom (APU) | 2h 44m | 103.05 |
HDD Bays (Front) | 8h 7m | 320.04 |
HDD Bays (Rear) | 8h 28m | 322.66 |
Fan Cover, Cable Cover, HDD Slider | 1h 41 | 74.78 |
HDD Retainer and PSU Cover | 1h 5m | 43.75 |
TPU Feet | 1h 8 | 9.1 |
Clips x 24 | 1h 1m | 3 |
Total | 37h 15m | 1407.59 |
It took a total of 37 hours and 15 minutes to print all of the components, and I used 1.4 kg of PETG filament.
How much did it cost?
Swipe to scroll horizontally
8/4 | 0.37 |
8/6 | 0.699 |
8/7 | 0.879 |
8/8 | 1.229 |
8/9 | 0.903 |
8/10 | 0.203 |
8/12 | 0.21 |
8/13 | 0.139 |
8/14 | 0.073 |
| Row 9 - Cell 0 | Row 9 - Cell 1 |
| Row 10 - Cell 0 | Row 10 - Cell 1 |
Power usage (KWh) | 4.705 |
Price per KWh | 24.62 |
Cost (in pence) | 115.8371 |
I live in the United Kingdom and our electricity prices are shocking (pun intended), but the total print cost me just £1.16 in electricity. I am suitably impressed because some of the larger parts, the drive bays, took around 16 hours in total to print. To monitor power consumption, I have my Elegoo Centauri Carbon connected to a Tapo P110 smart plug. It’s a damn useful device, especially with Google Home, so I can remotely control my printer and shut it down if there is an issue. Power monitoring is a nice bonus!
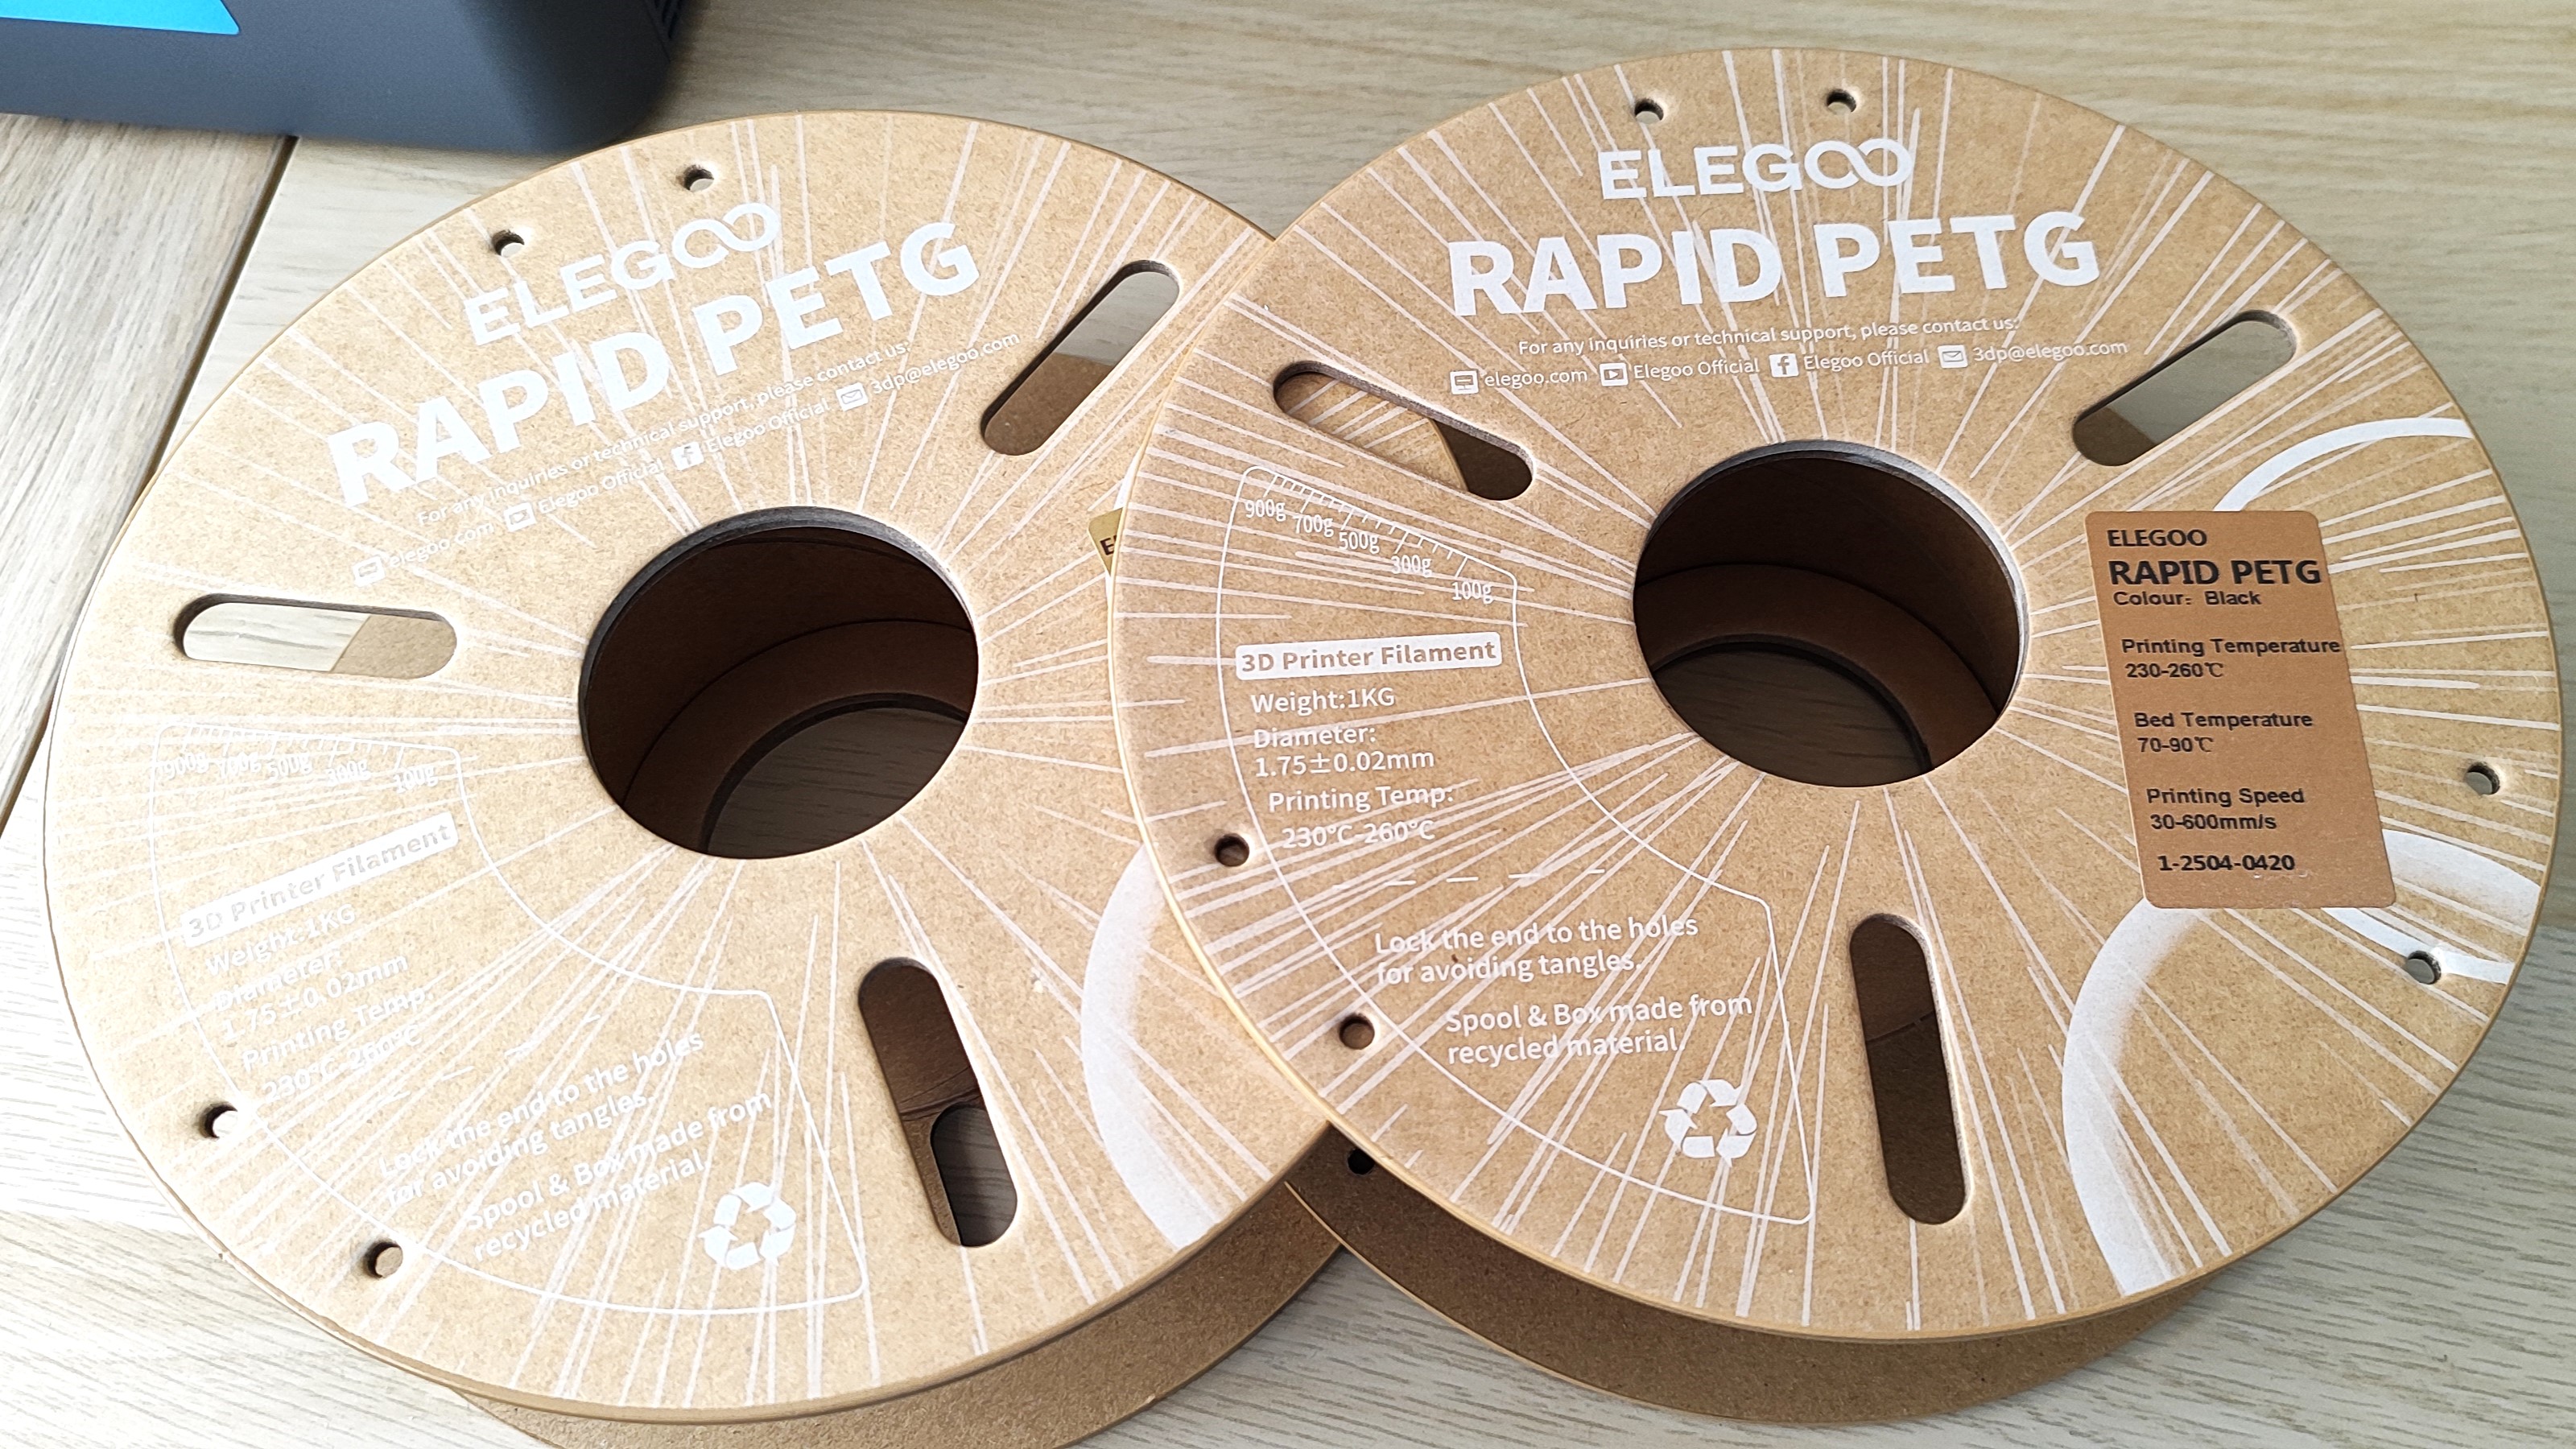
The cost of filament was also pretty good. I bought two rolls of Elegoo Rapid PETG for £27 on Amazon, and I still have half a roll left over for spare parts.
Final Thoughts?
I wanted to push myself and the Elegoo Centauri Carbon to make a big project using a 3D printer, and I can safely say that it was a success. In the past, it always felt like a gamble to do a big / long 3D print project. But it is safe to say that with the current crop of Core XY printers, of which the Centauri Carbon is arguably the budget king, you can dream and print big.
Would I do it again? Yes I would. Would I still consider buying a case? Sure. This will not replace buying a premium PC case for your next build. 3D printing a case is still something very niche, but it is great that I was able to do it and for very little money. Ok, I had to buy a $300 3D printer, but that purchase opened up a world of possibilities to me.


 English (US) ·