 8 months ago
23
8 months ago
23
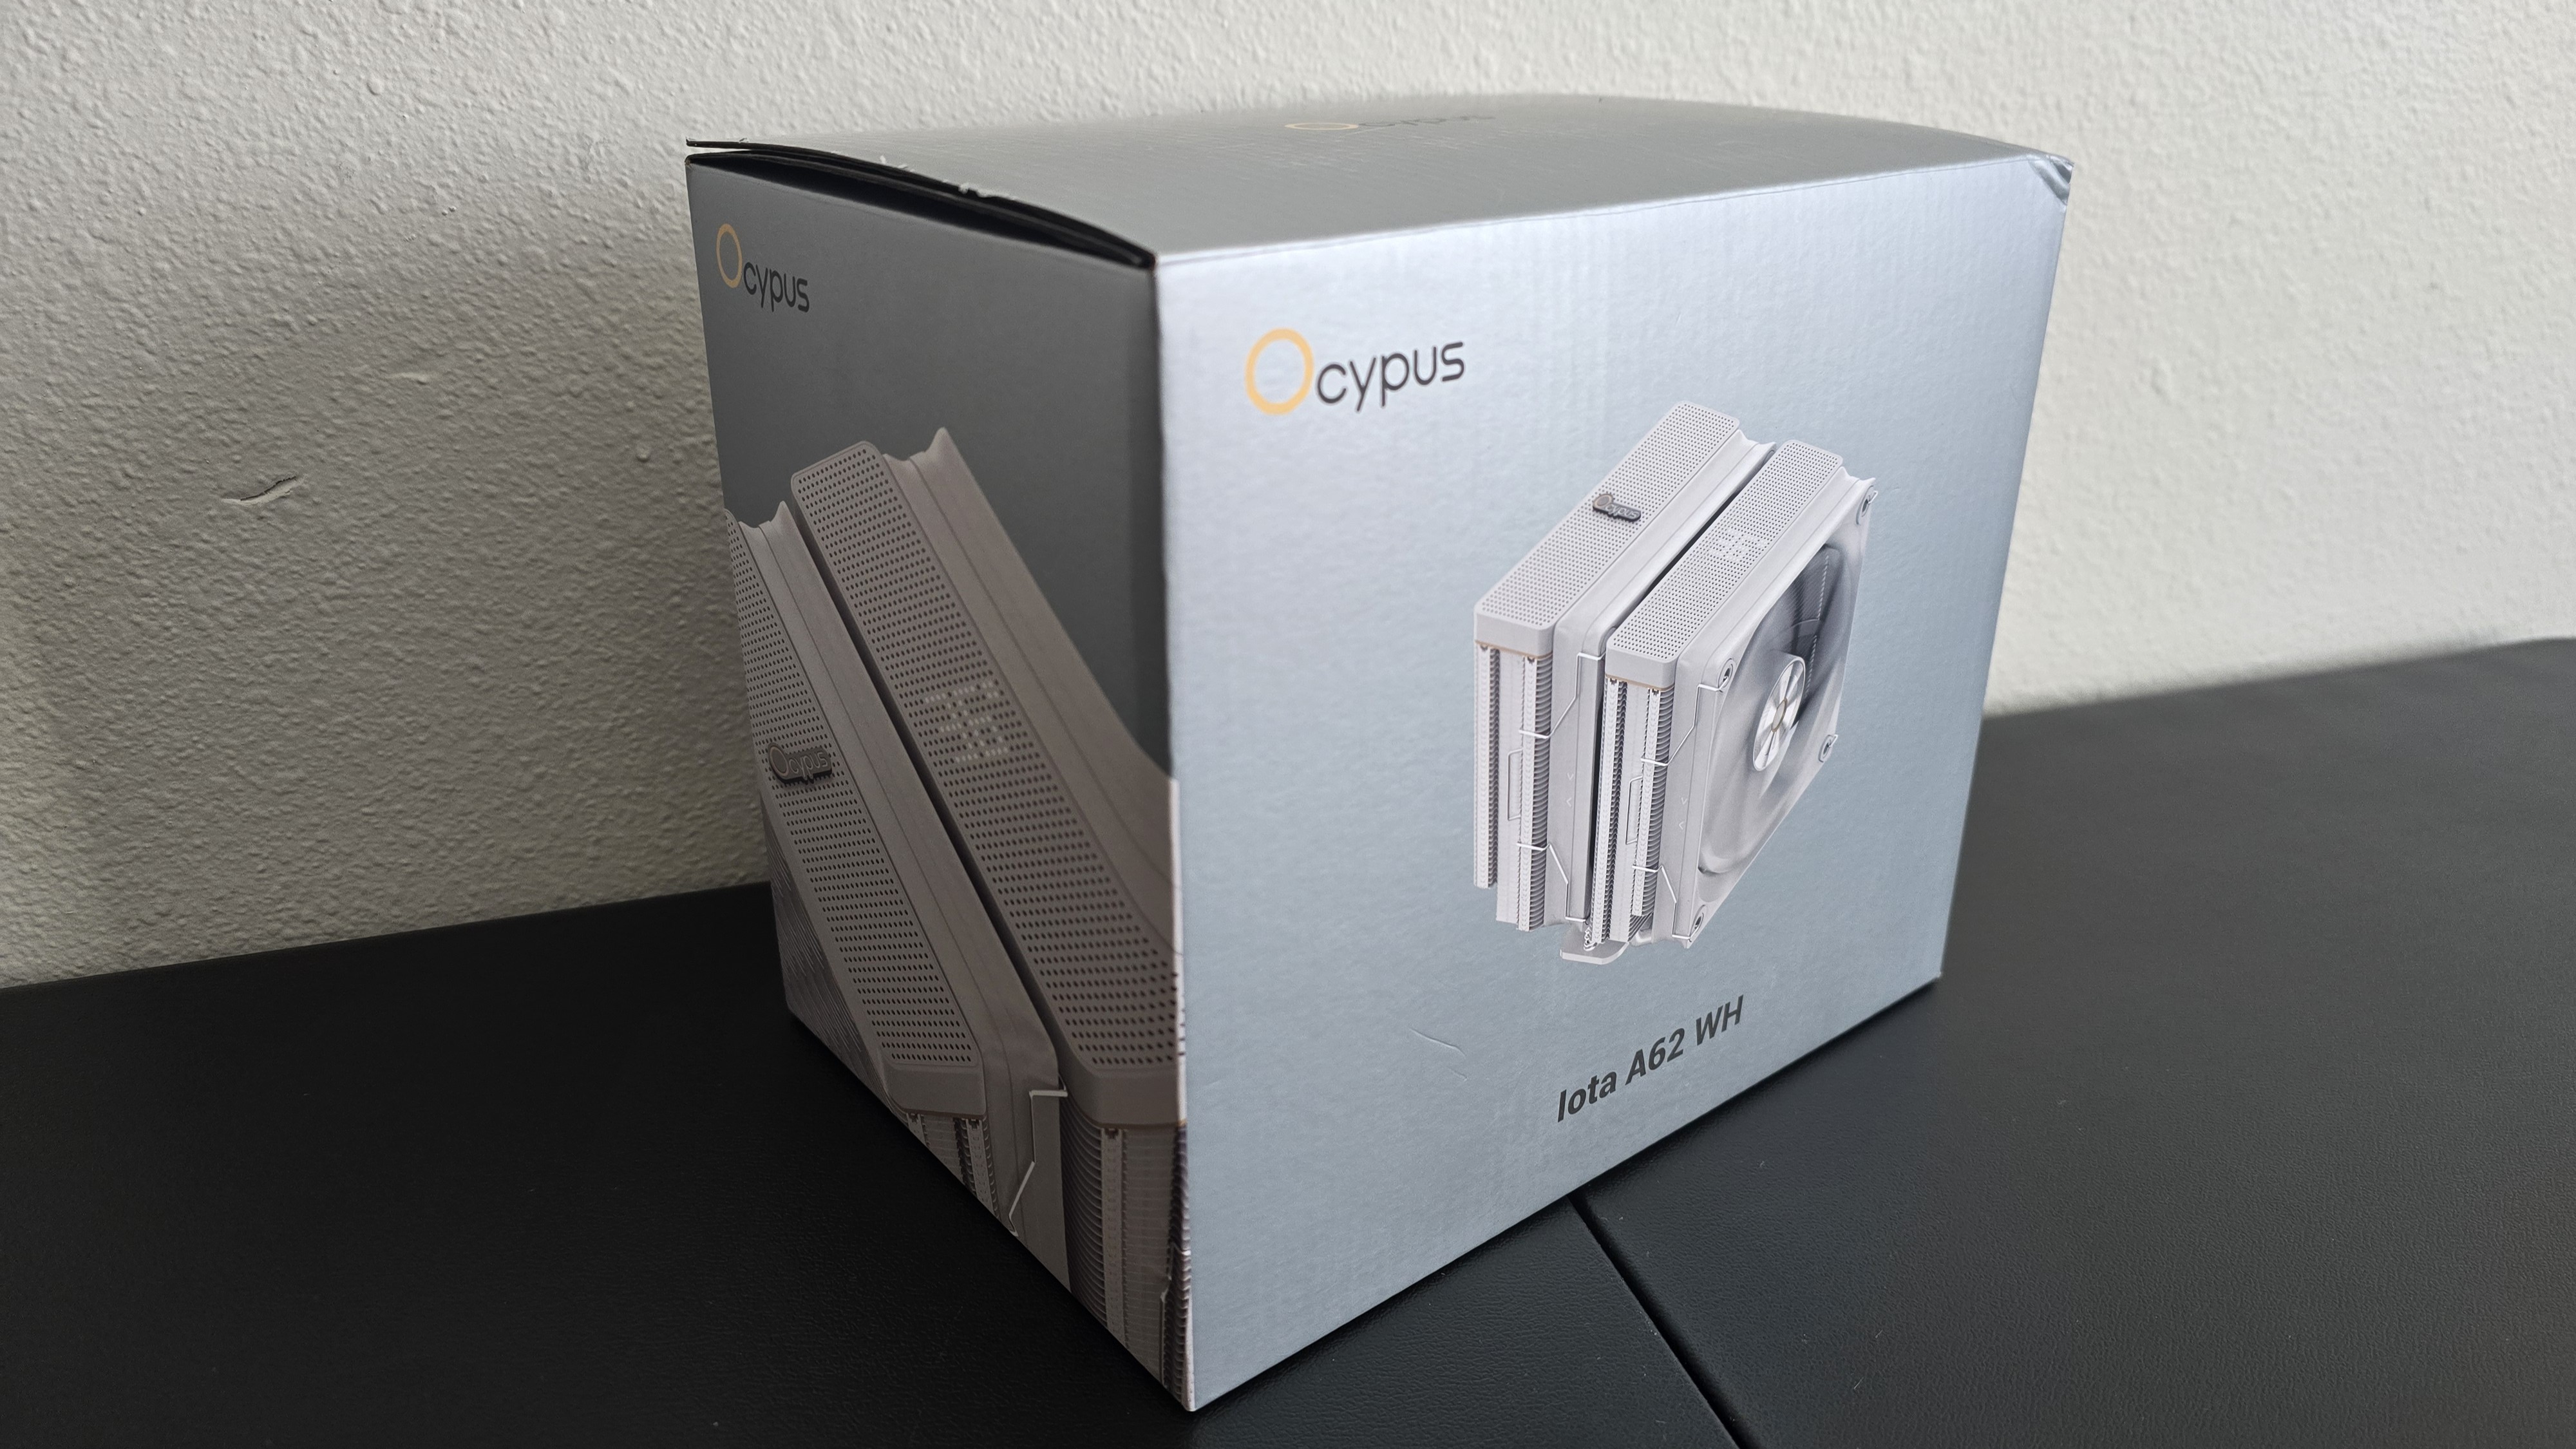
Today’s review features a cooling newcomer I’d never heard of until recently – Ocypus, which was founded in Shenzhen in 2023. We’ll be taking a look at a few of the products they offer in the near future, but today we’re focused on the Iota A62 WH Digital air cooler, which offers a distinctive aesthetic that includes a dot matrix display, making for a striking cooler – but sometimes looks can be deceiving.
Ocypus claims its cooler can handle up to 260W of thermal dissipation. Does the Iota A62 WH deliver on this claim? In short, yes it does,unlike many other coolers that feature TDP ratings that lean toward pure fantasy. When paired with Intel’s Core Ultra 9 285K, we actually found better cooling performance than Ocypus advertised, cooling 285W compared to the 260W advertised by Ocypus! Does this mean the Iota A62 WH is strong enough to earn my recommendation and be featured in Tom’s Hardware’s list of best air coolers? You’ll have to read the full review to find out.
Let’s take a look at the specifications and features of the cooler, then we’ll go over thermal performance and noise measurements, so you’ll know how cool and quiet this cooler can keep your rig.
Cooler specifications
Swipe to scroll horizontally
Cooler | Ocypus Iota A62 WH Digital |
MSRP | $65.99 |
Radiator Material | Aluminum |
Lighting | Digital Temperature Display only ARGB models are available |
Socket Compatibility | Intel Socket LGA 1851/1700/1200/115x AMD AM5 / AM4 |
Unit Dimensions | 127 (L) x 136 (W) x 158mm (D) |
Base | Nickel-plated copper |
Maximum TDP (Our Testing) | ~241W with Core i7-14700K ~285W with Core Ultra 9 285K |
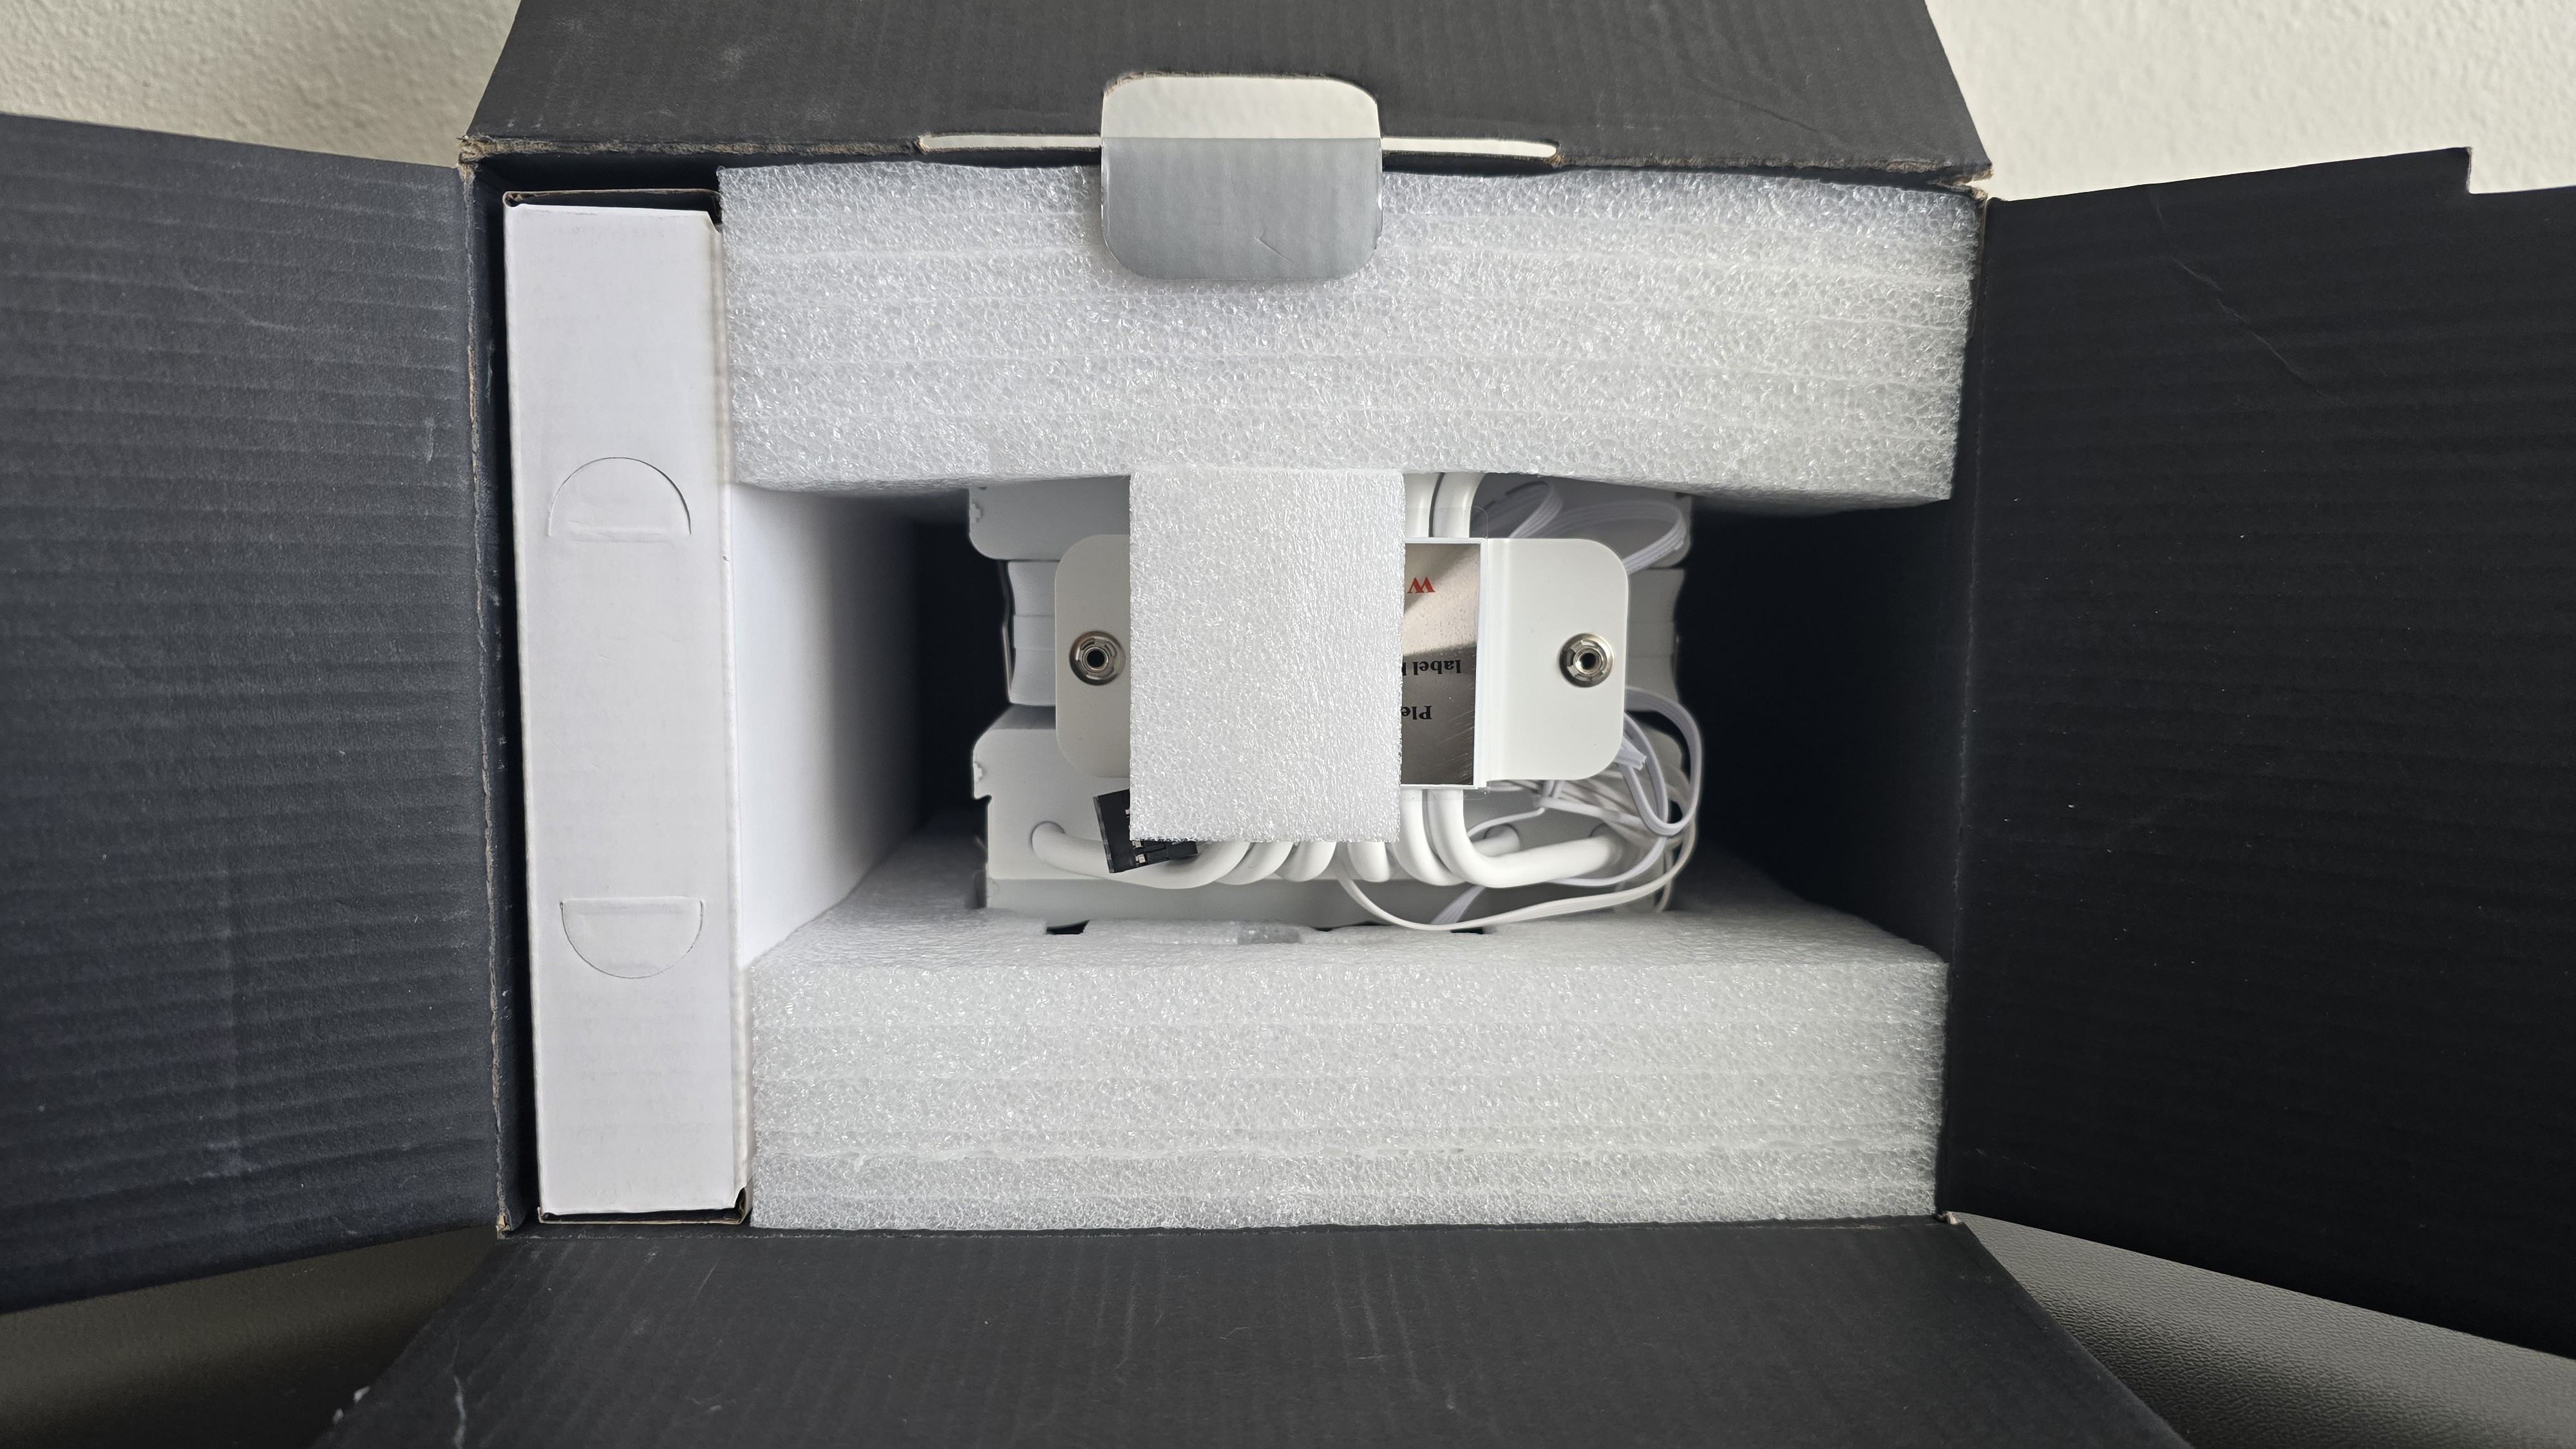
Packing and included contents
The exterior of the packaging is a silver grey, advertising the product contained within.
The cooler is protected by molded foam, and a small cardboard box carries the accessories needed for installation.
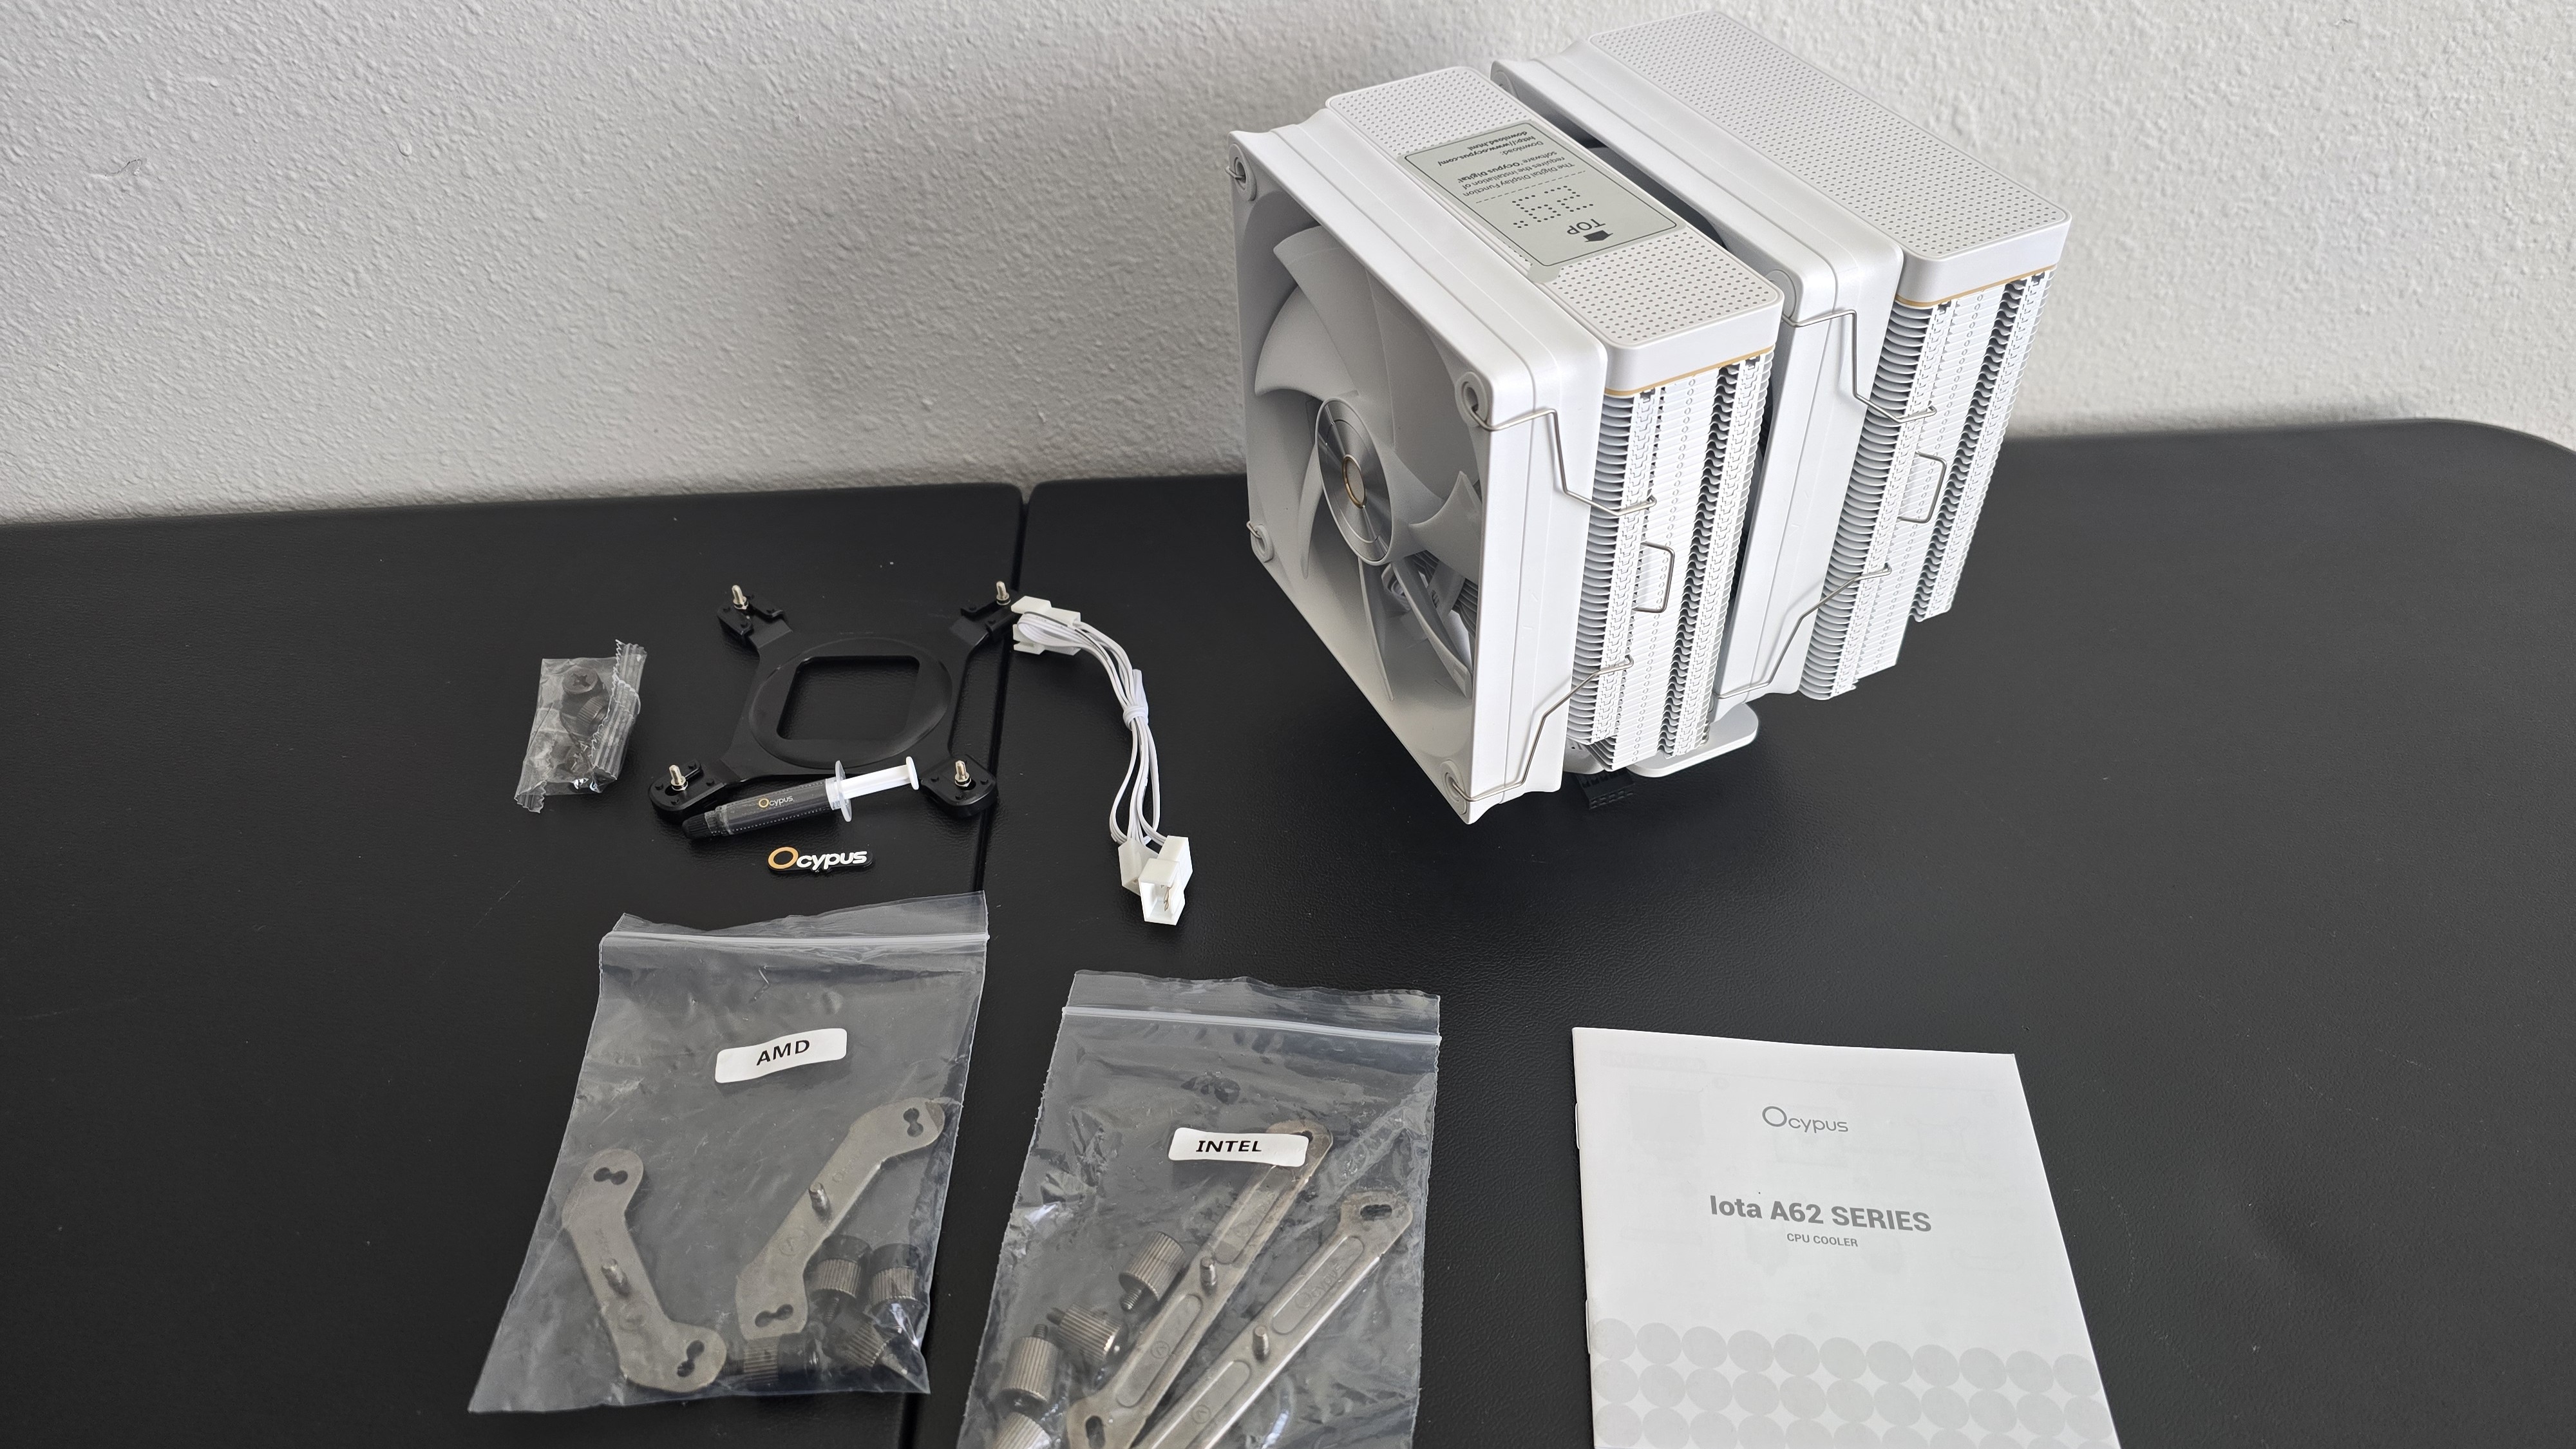
Included with the box are the following:
- Two 120mm fans
- Dual-tower heatsink
- Thermal paste
- Mounting accessories for modern AMD & Intel platforms
Features of Ocypus Iota A62 WH digital air cooler
▶️ RAM Clearance
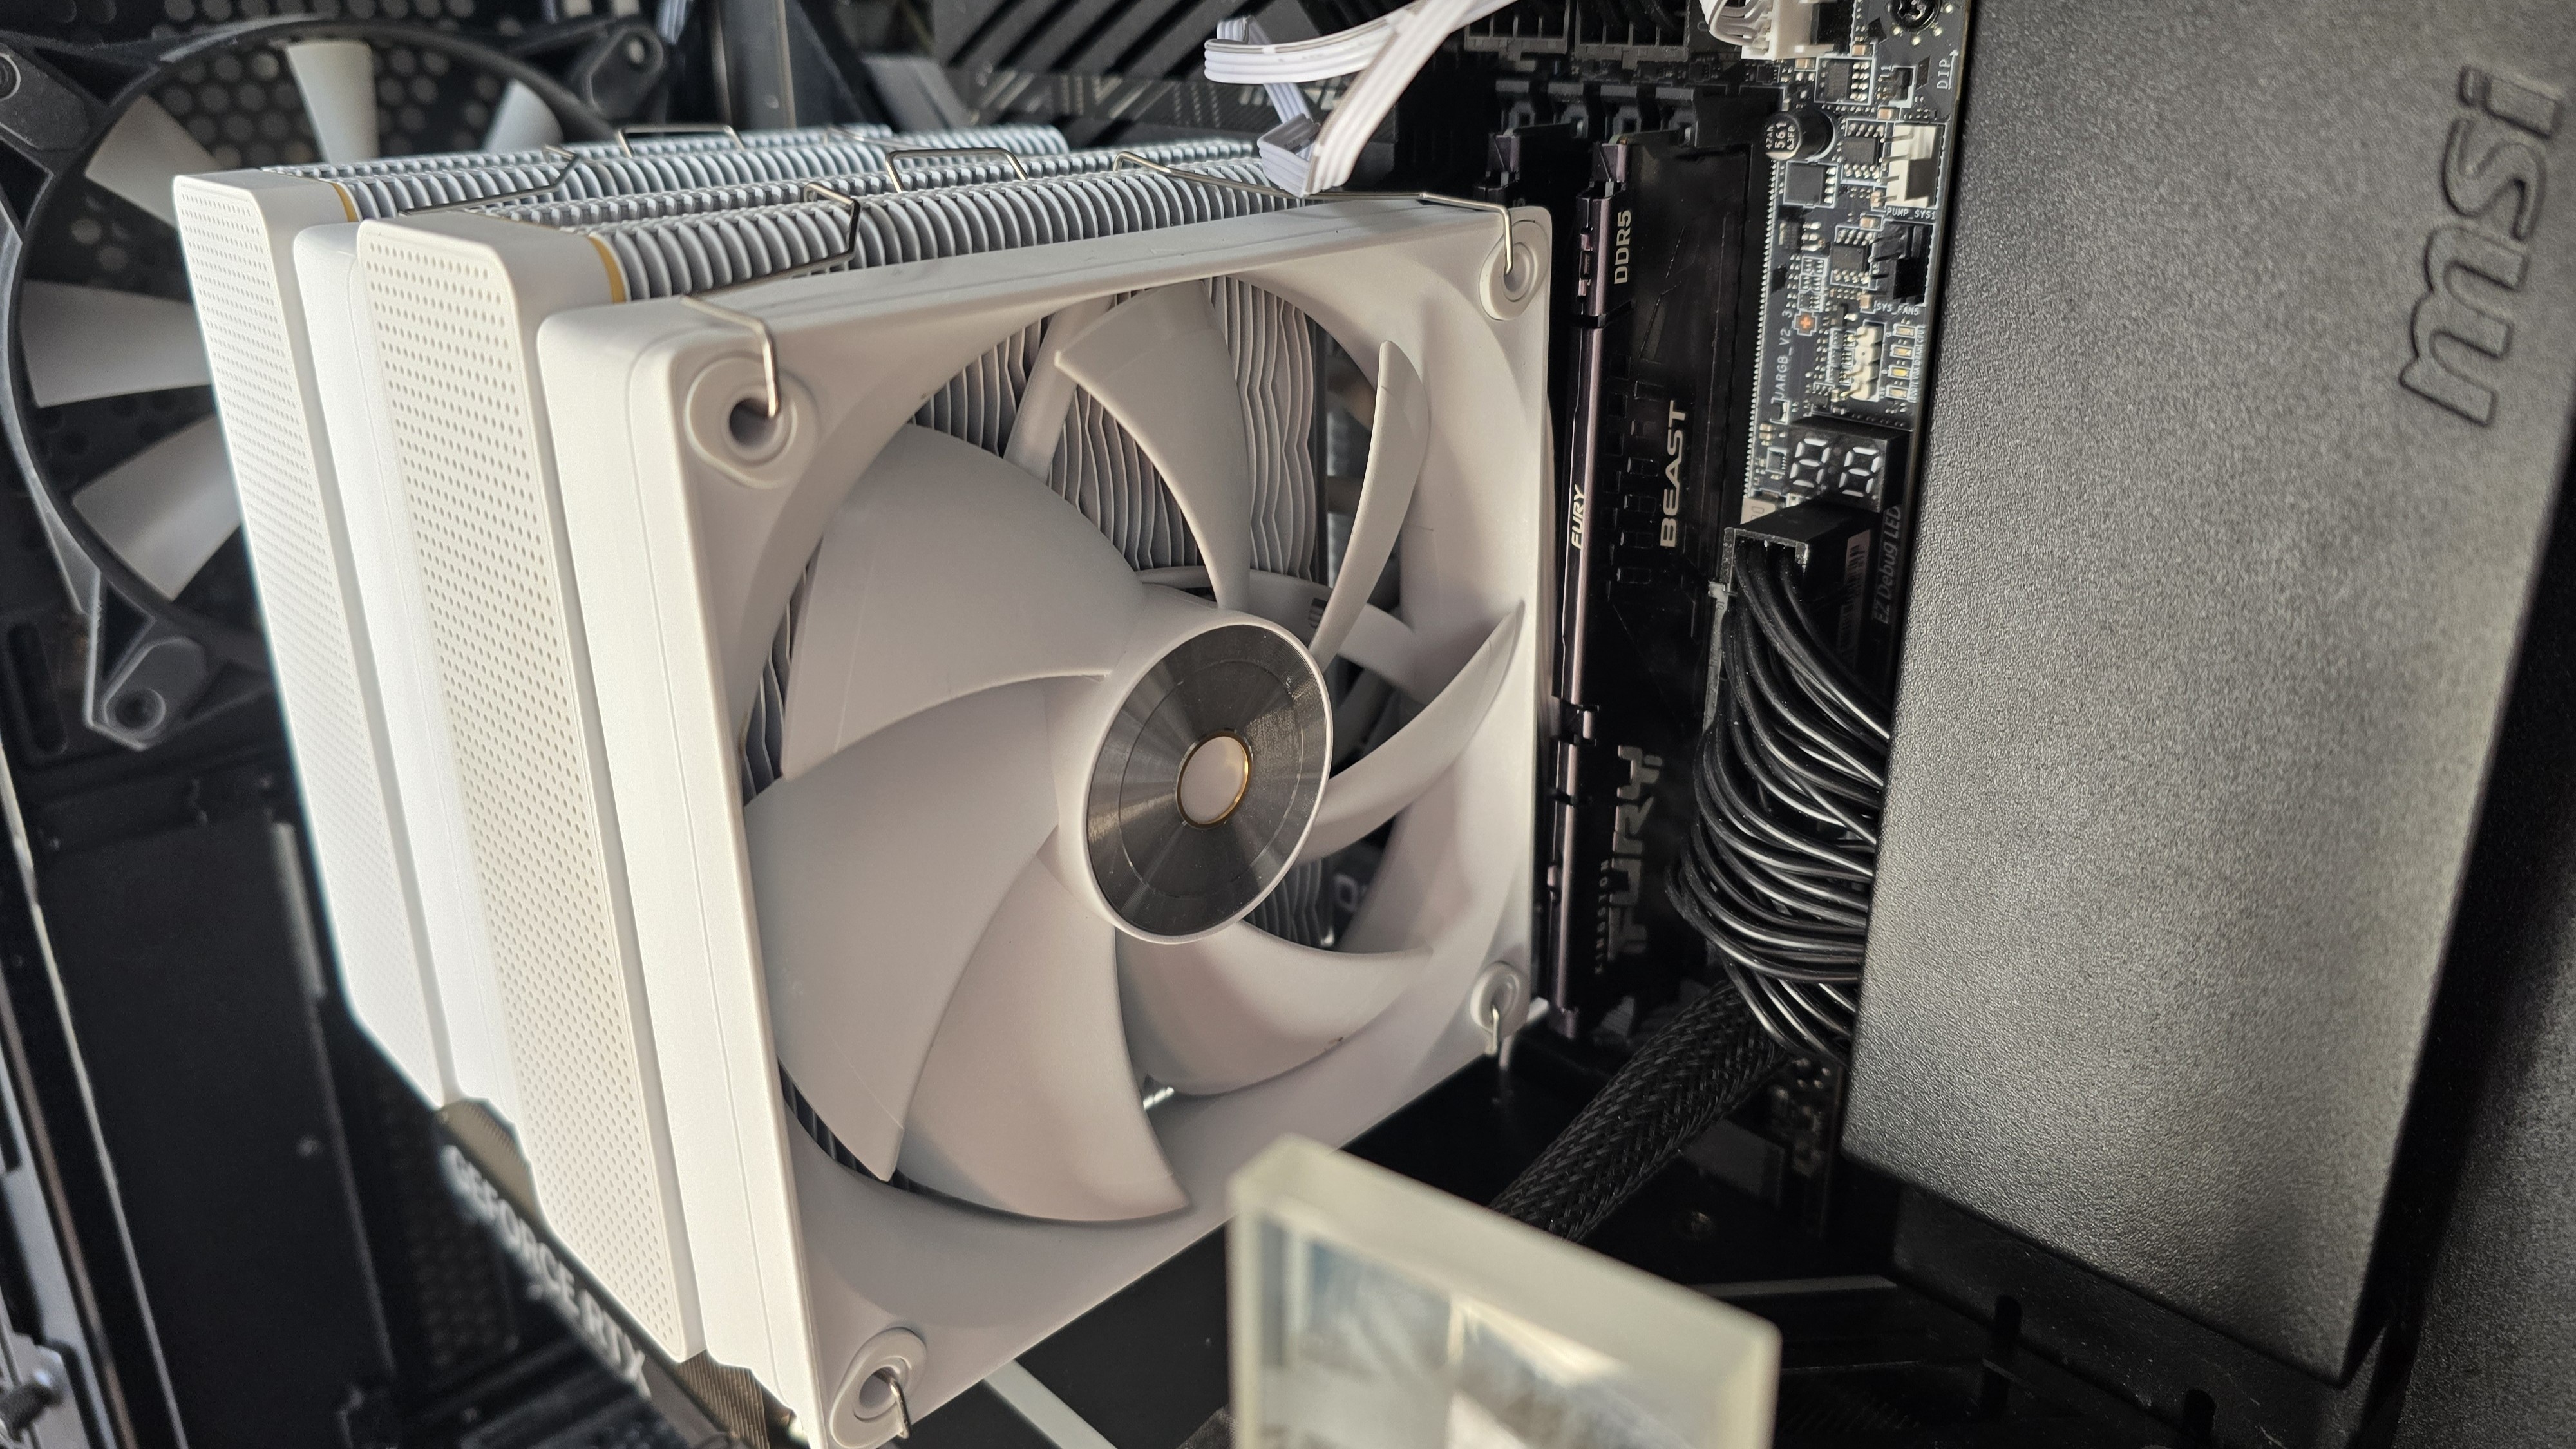
In the default configuration of the A62, one of the fans will overhang RAM sticks and there is limited spacing. As such, if you are using taller DIMMs you’ll want to put one of the fans on the rear of the unit instead of the front. Alternatively, you could just raise the fan a few millimeters higher.
When I used Kingston Fury Beast DDR5 (seen below), which has a 35mm height, there was just a tiny bit of room between the RAM and CPU cooler’s fan in the default configuration.
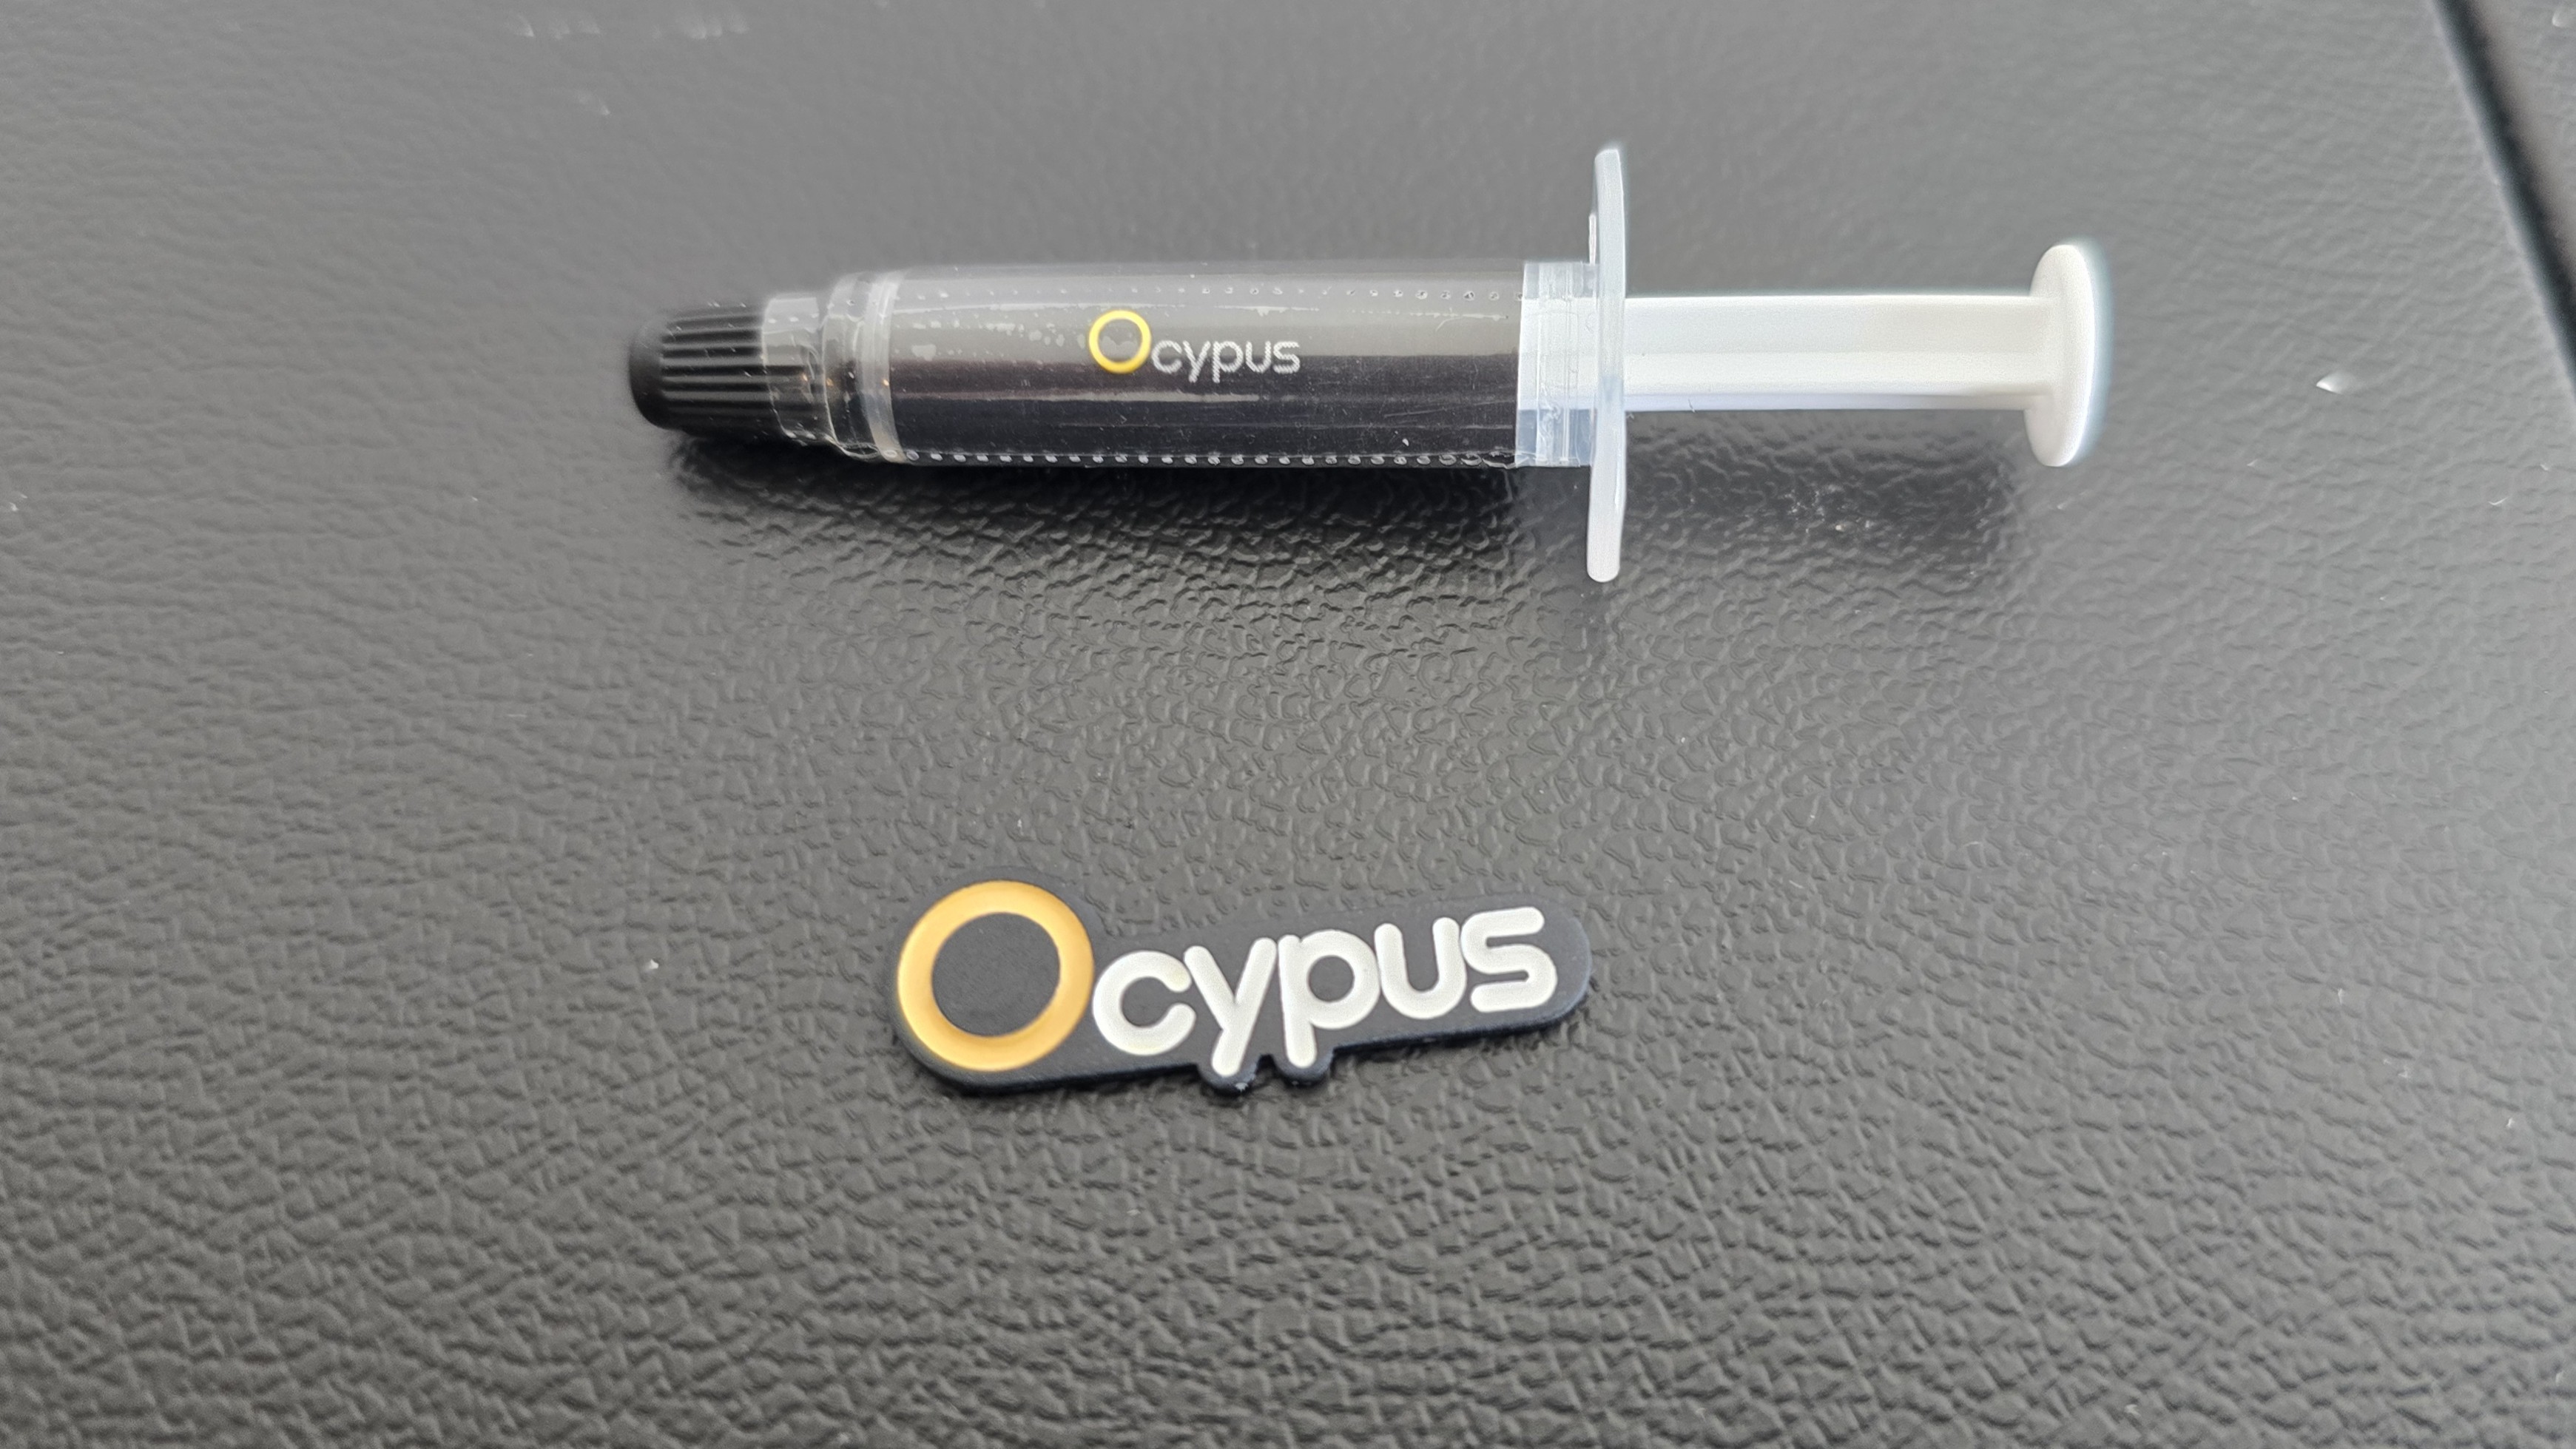
▶️ Thermal paste… and a rubber sticker!
Included with the AIO is a small tube of Ocypus branded thermal paste. Also included is a small rubber sticker, which can be applied to the top of the Iota A62 WH or another object of your choosing.
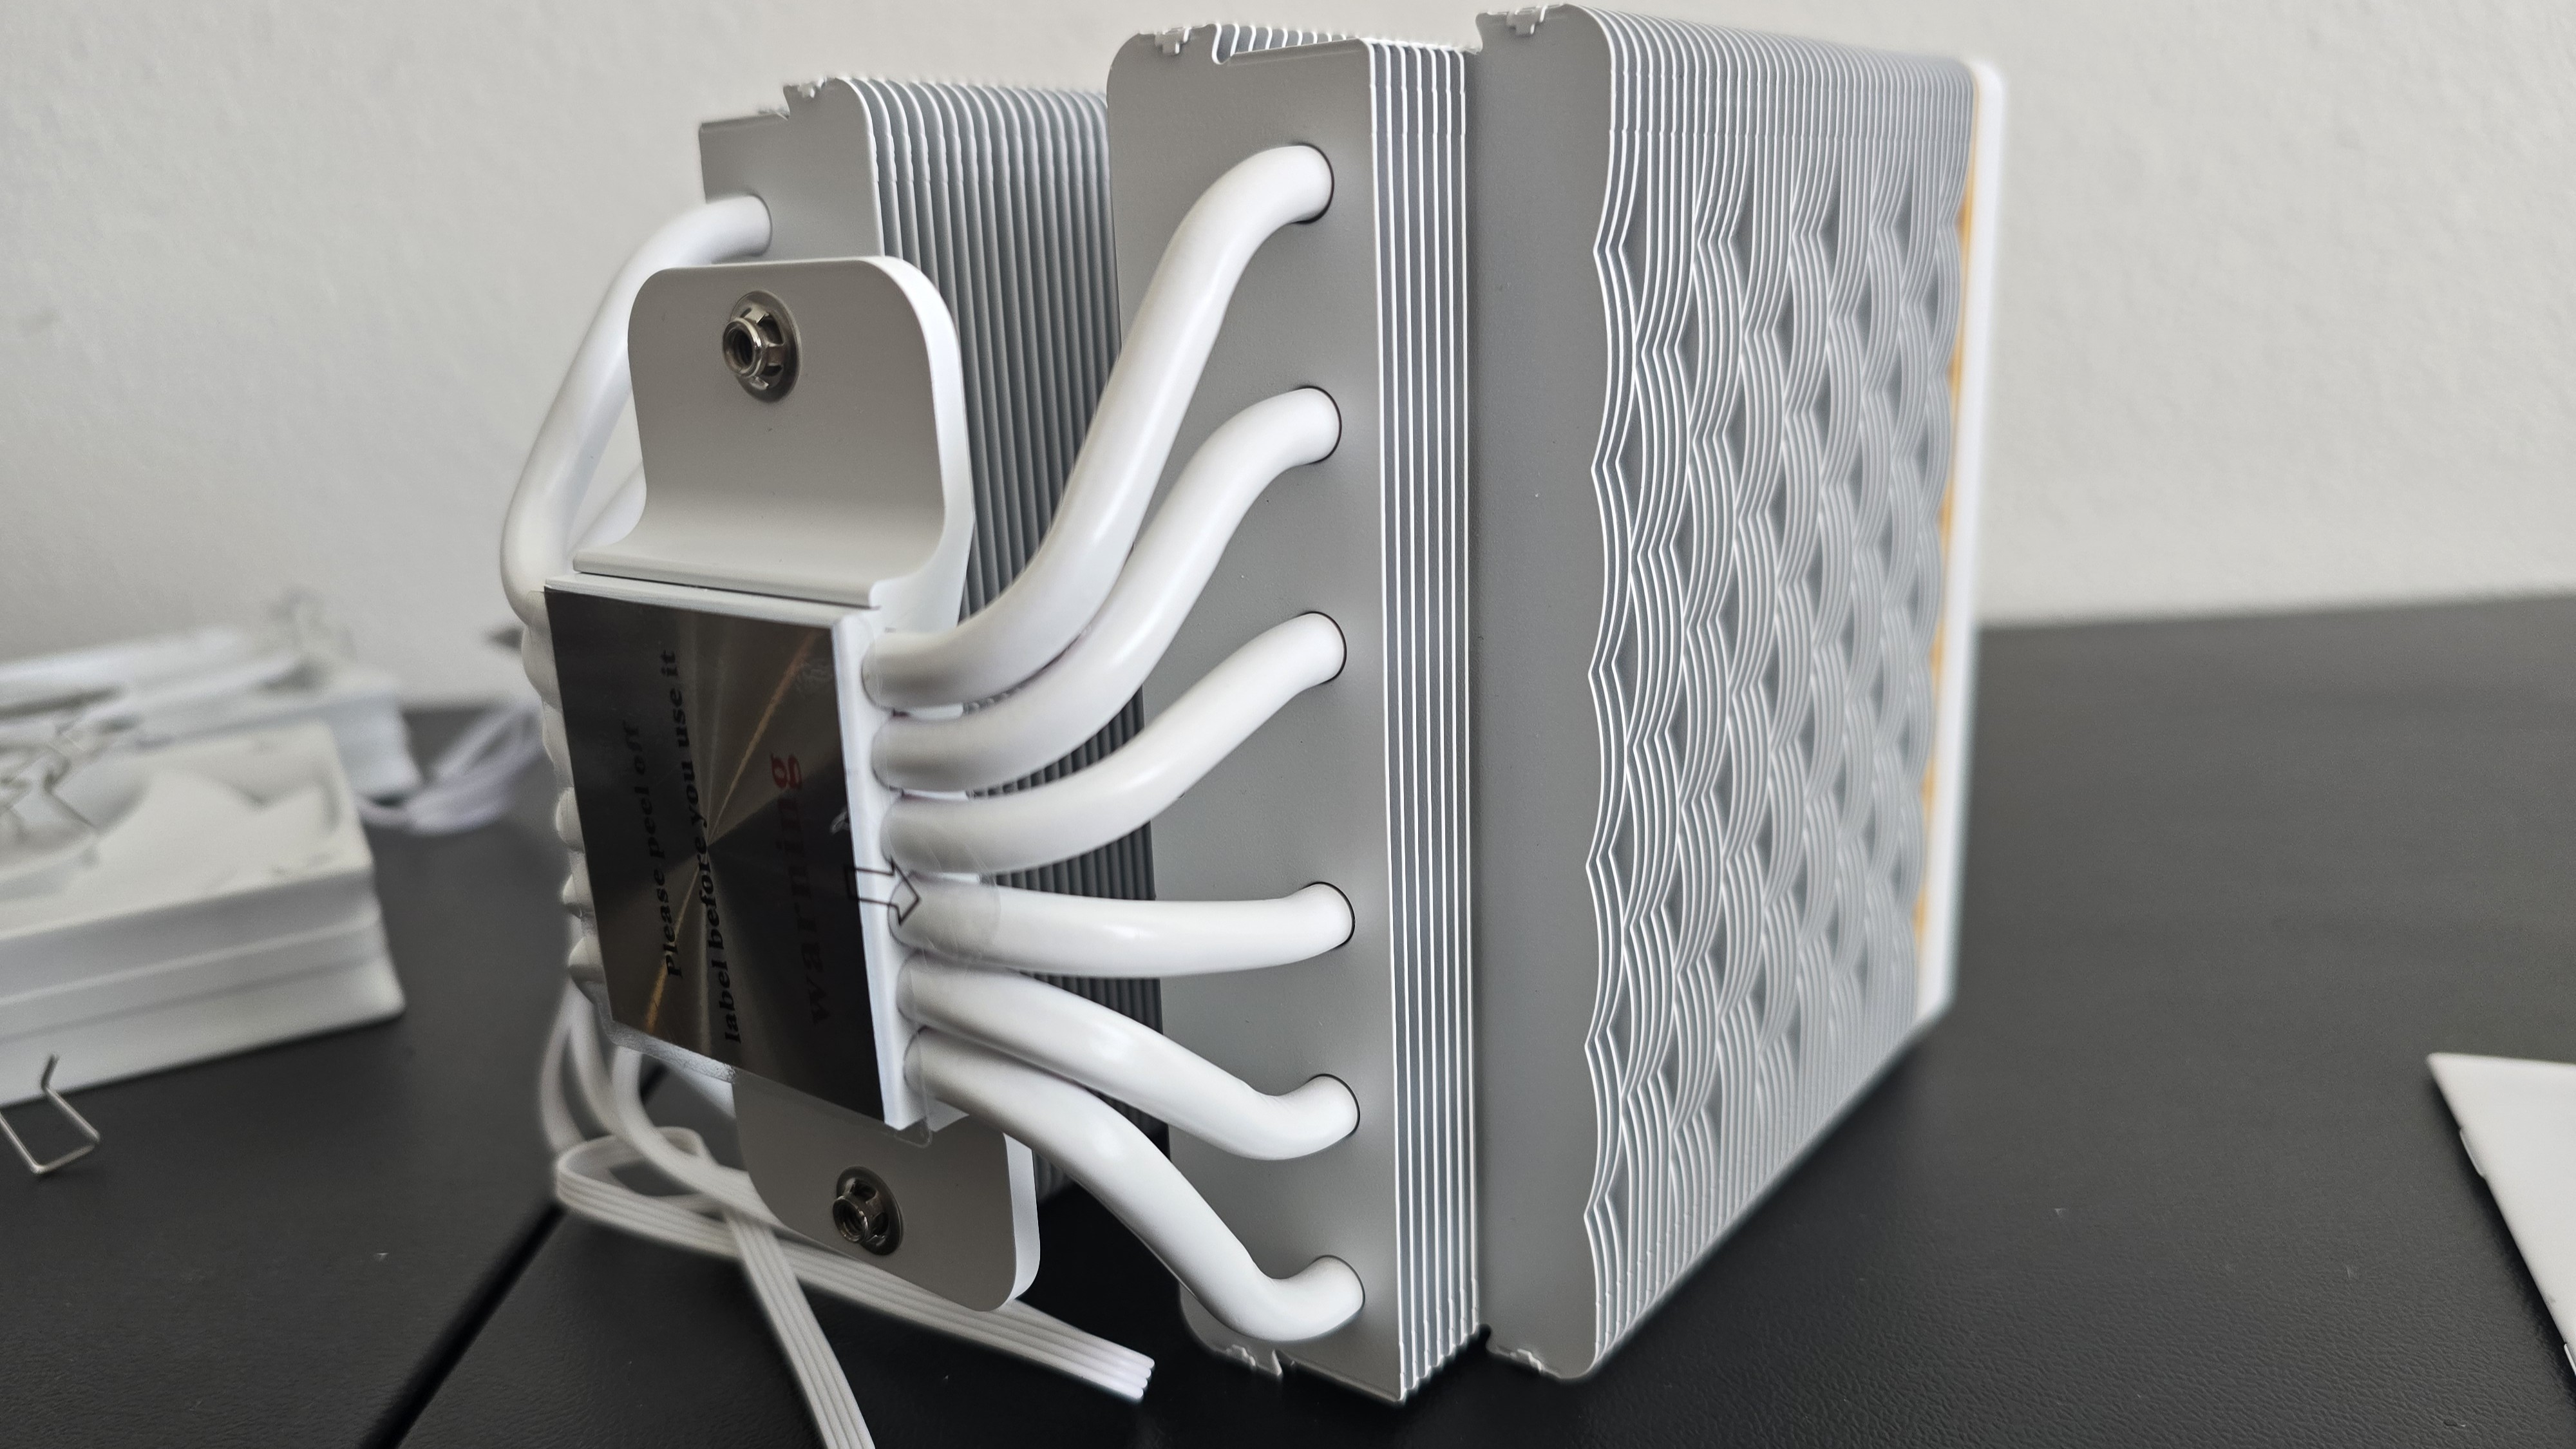
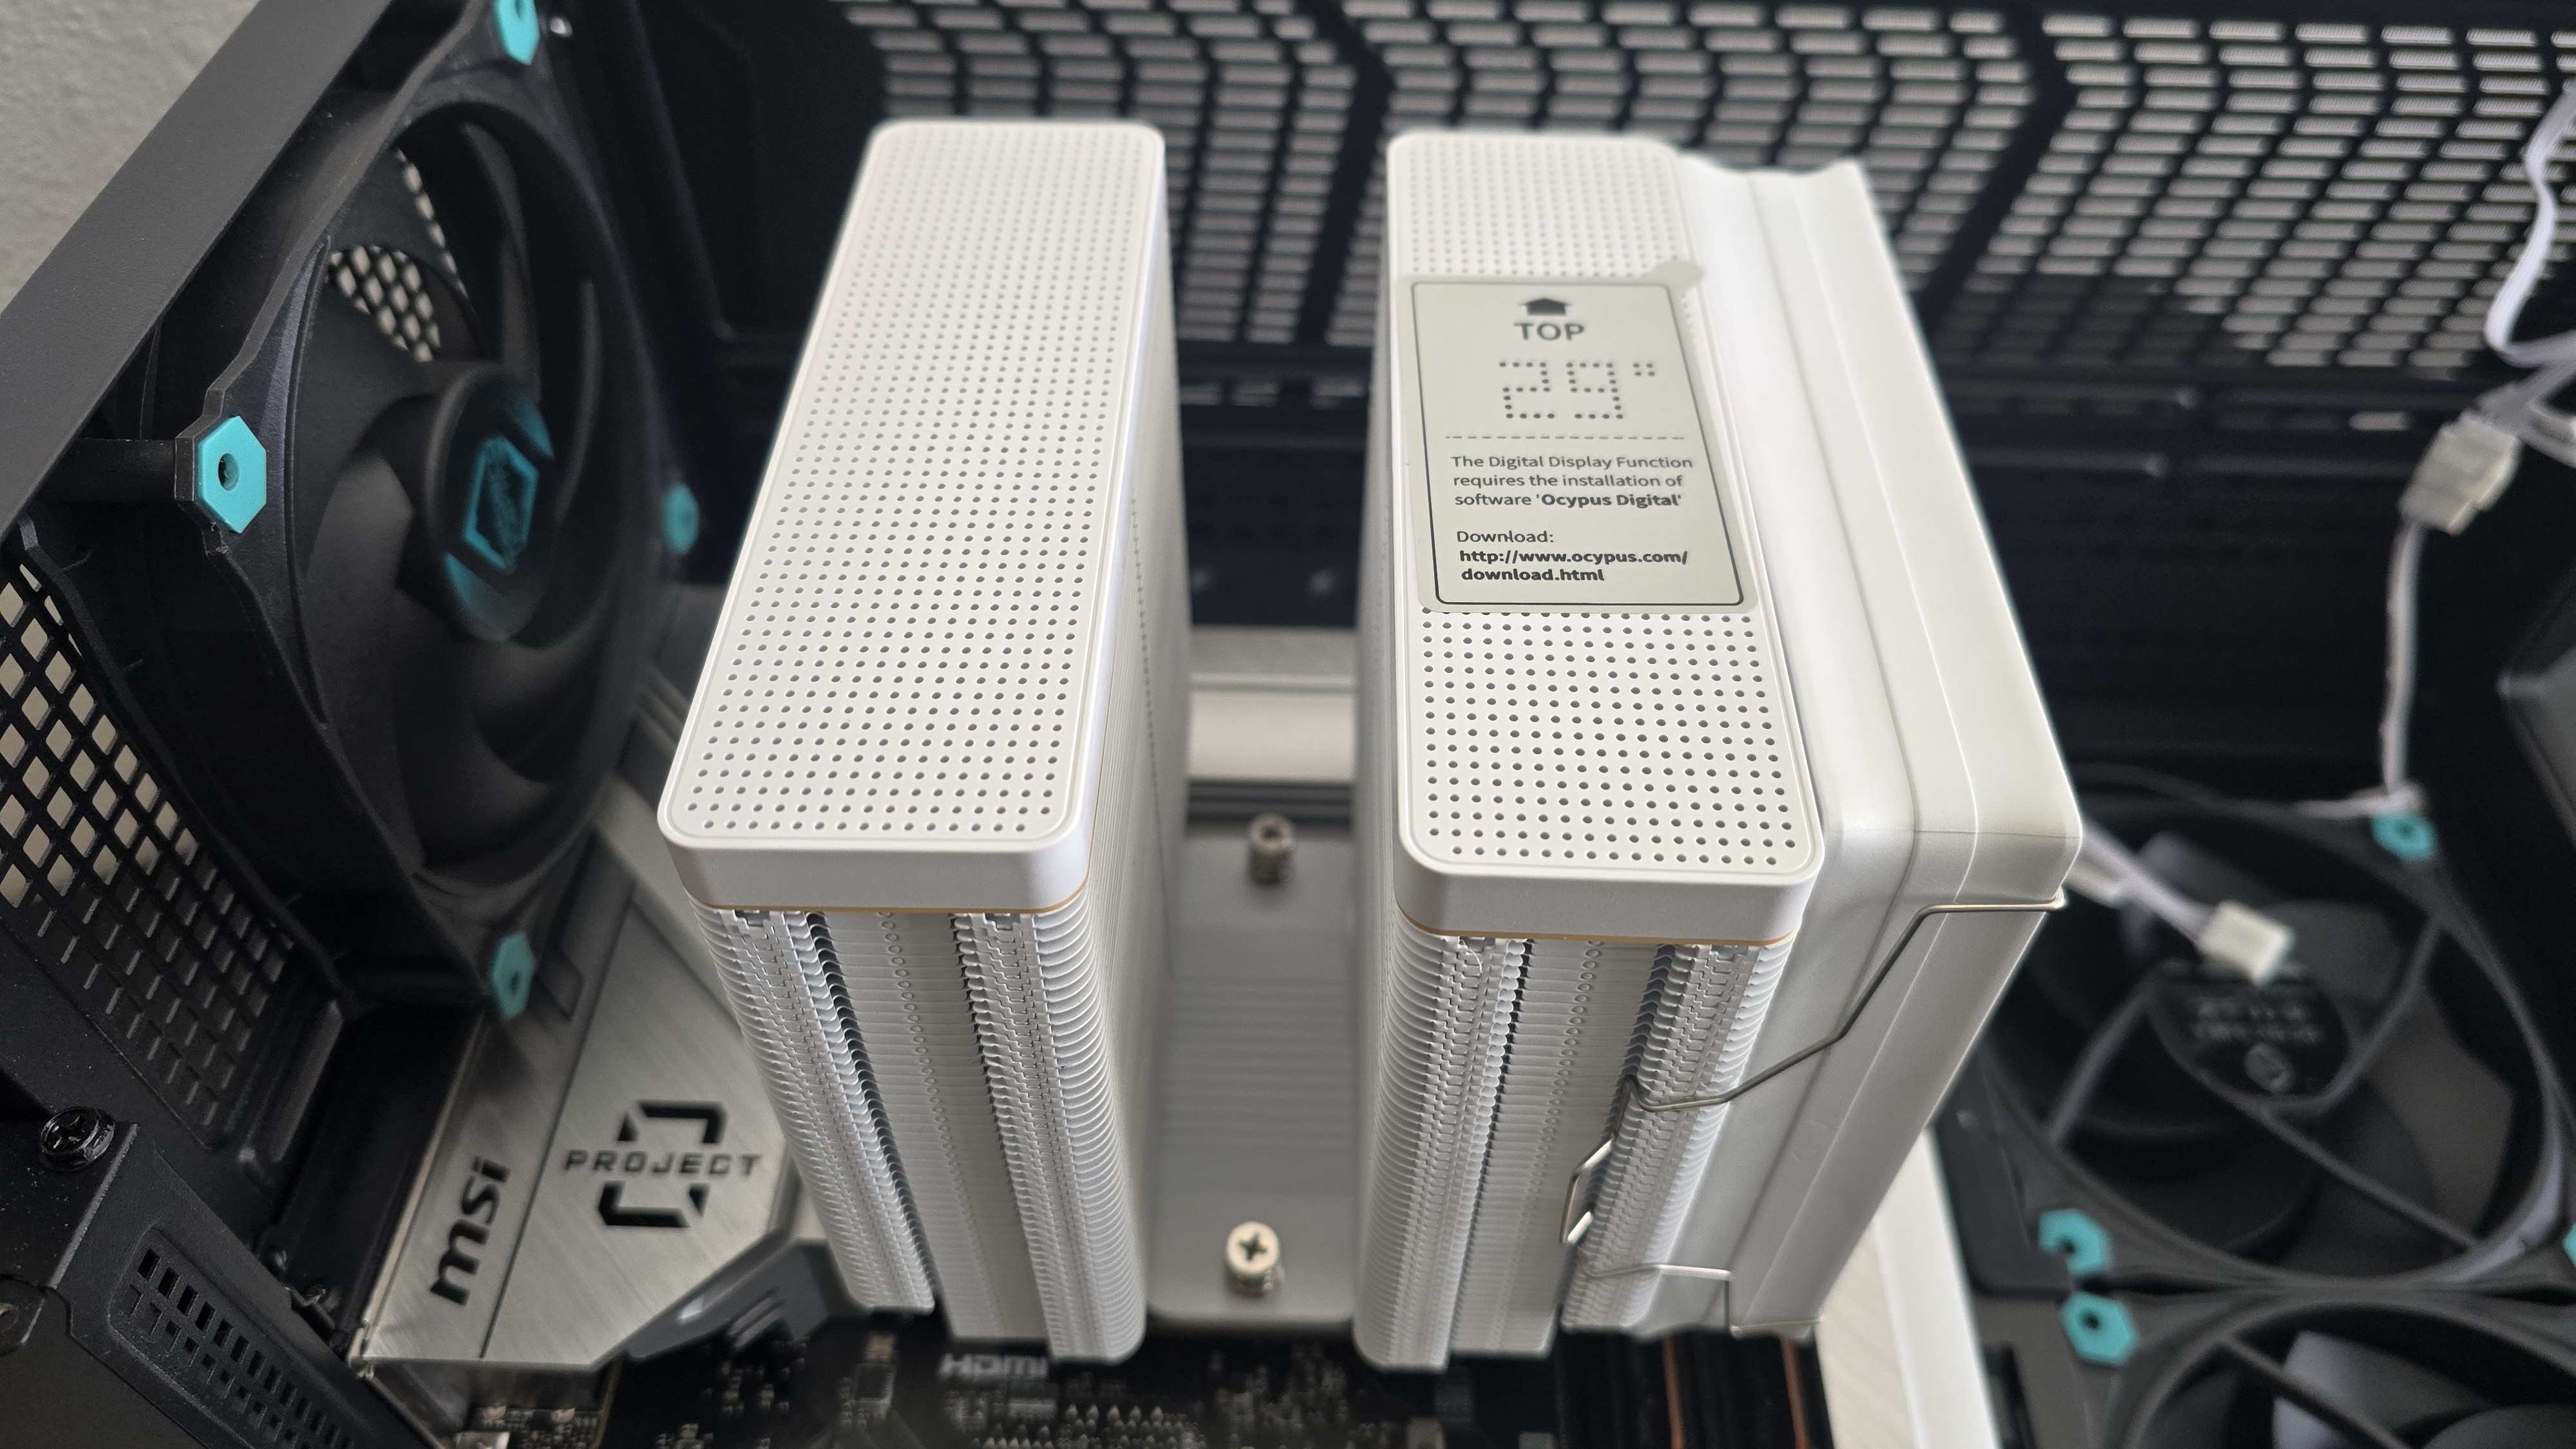
▶️ Dual-tower heatsink with six copper heatpipes
This cooler features a dual-tower heatsink to move heat away from the CPU. Six copper heatpipes help transfer heat into the fins, which feature a weaving design.
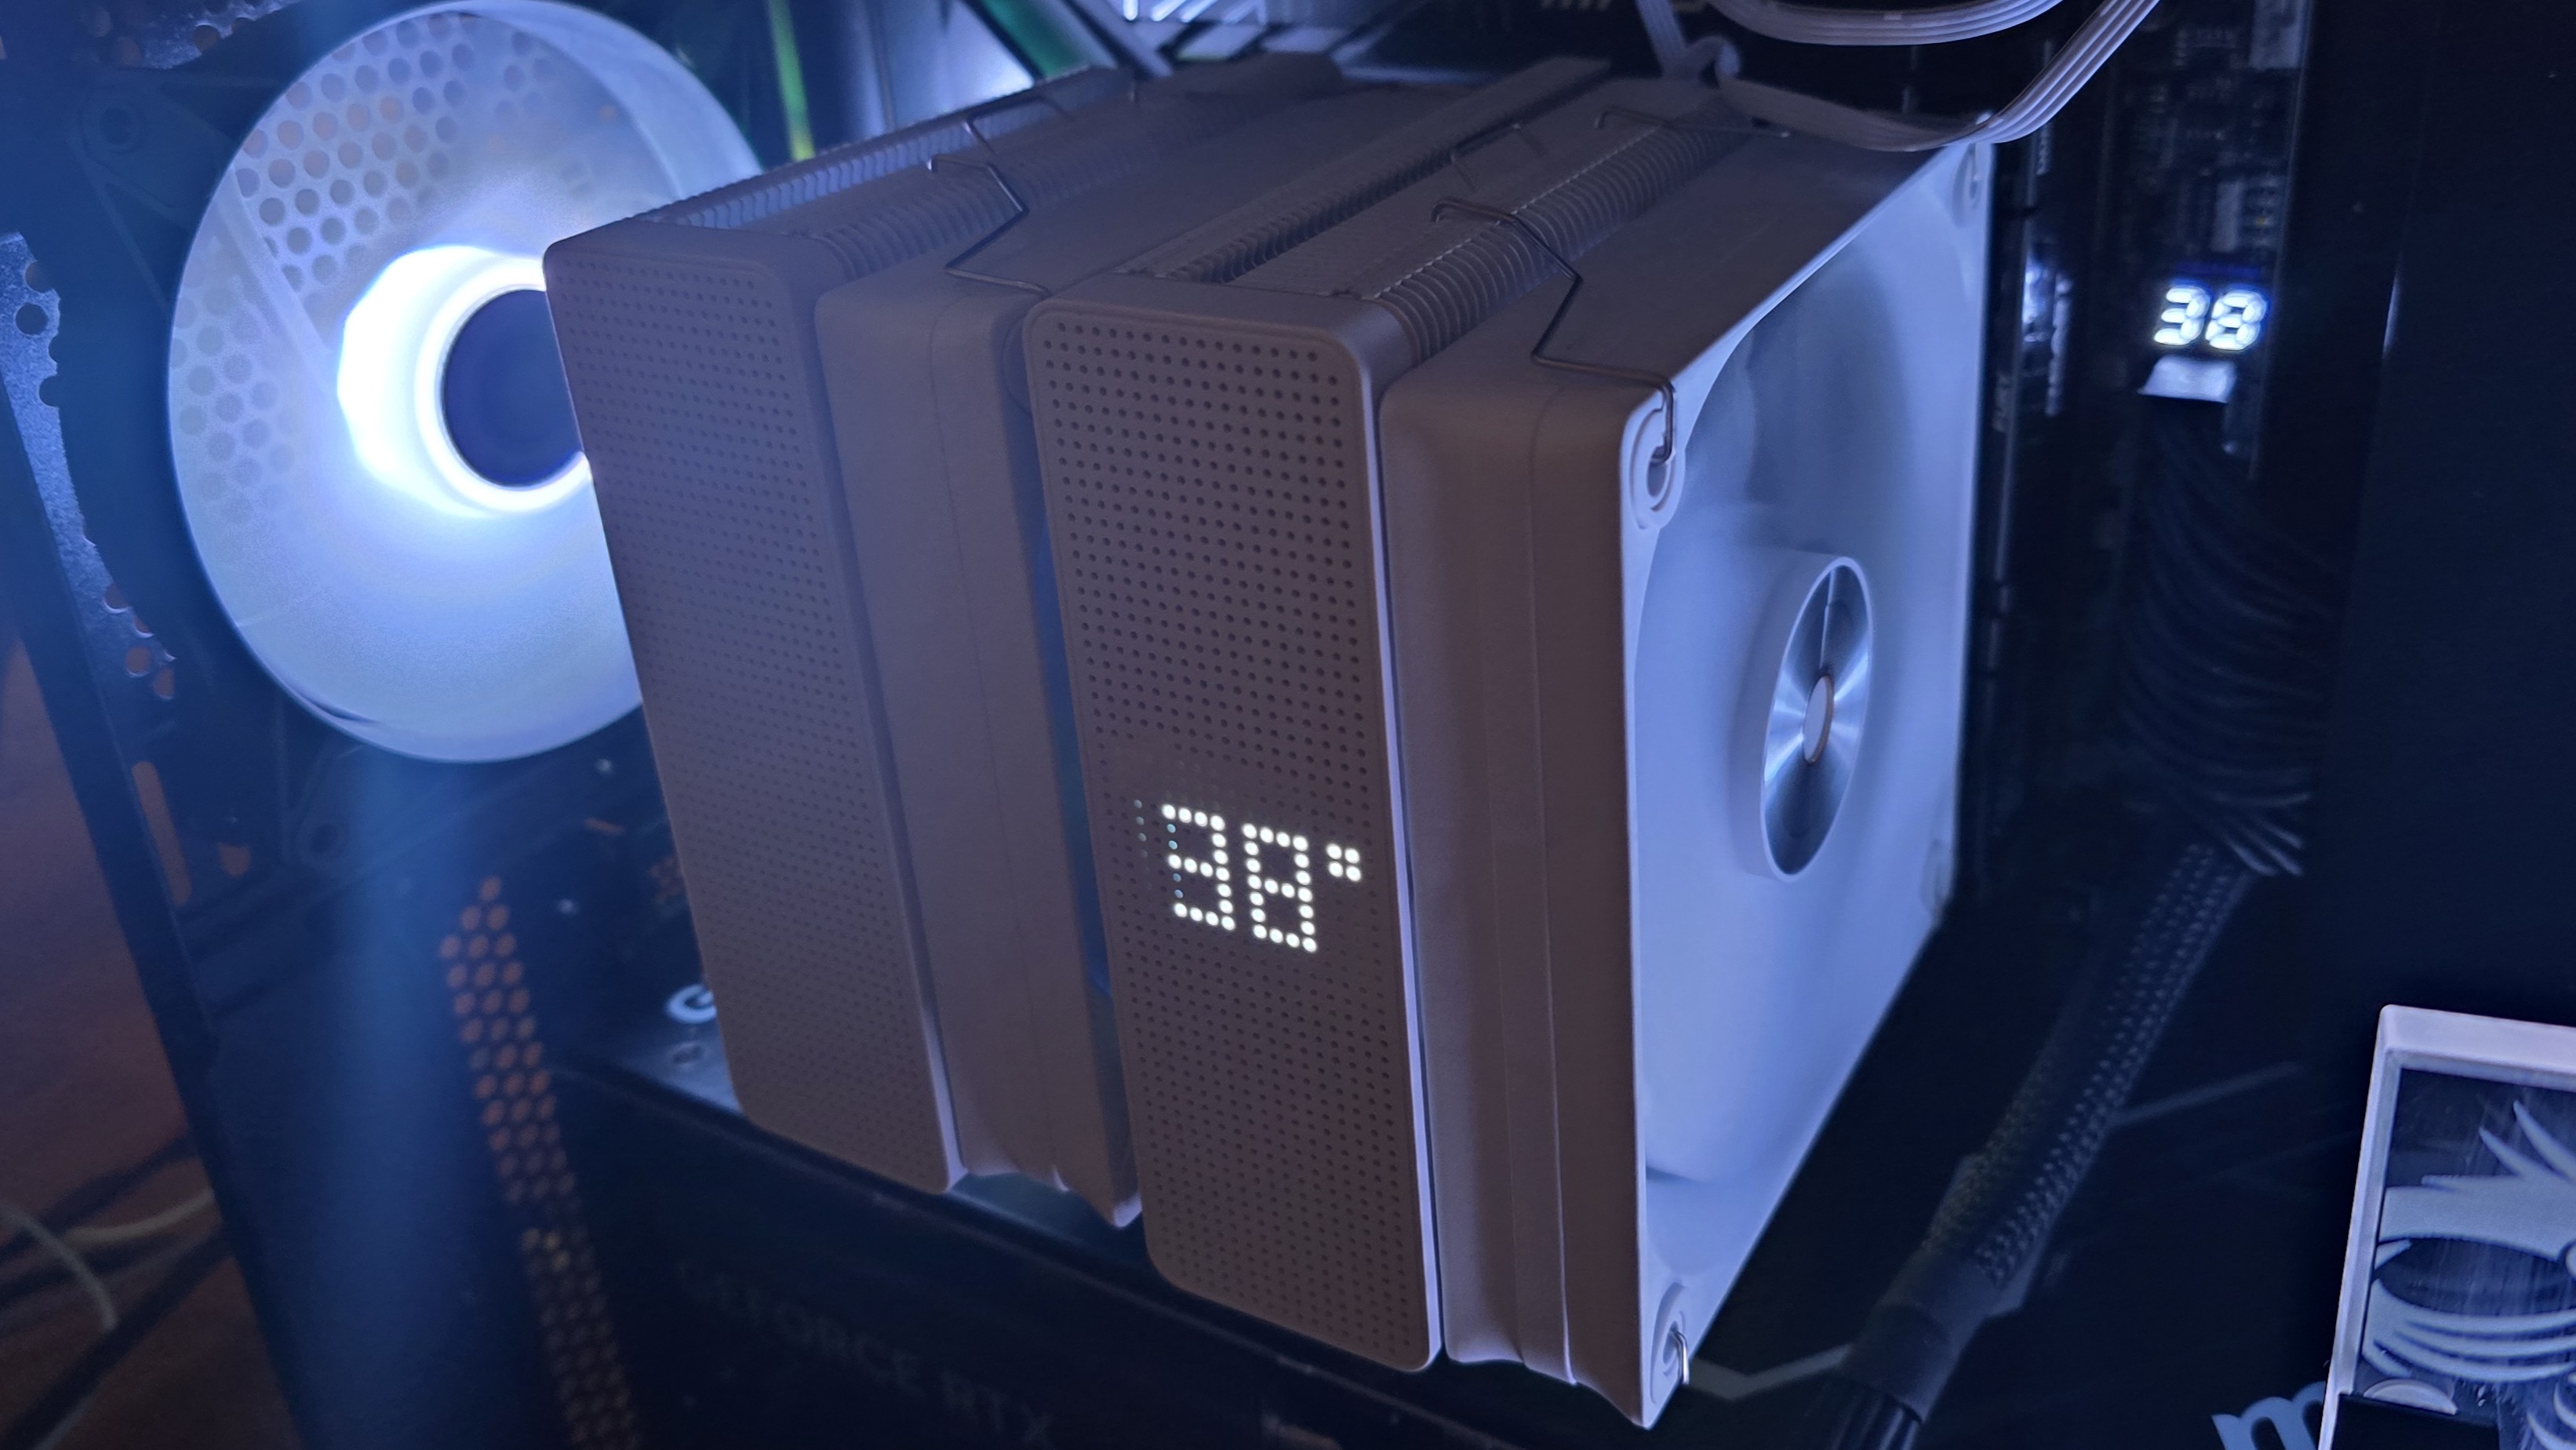
▶️ Dot Matrix display for monitoring CPU or GPU temps
One way the Iota A62 WH stands out from the competition is the inclusion of a digital dot matrix display where that you can use to show the temperature of the CPU or your GPU.
After installing the cooler and booting Windows, you’ll get a pop-up to download a zip file. This scared me at first, but it’s nothing to be worried about. The software is super simple, as you can basically only choose to display CPU or GPU temperatures. Ocypus tells me that future cooling products will offer more advanced displays and customization options.
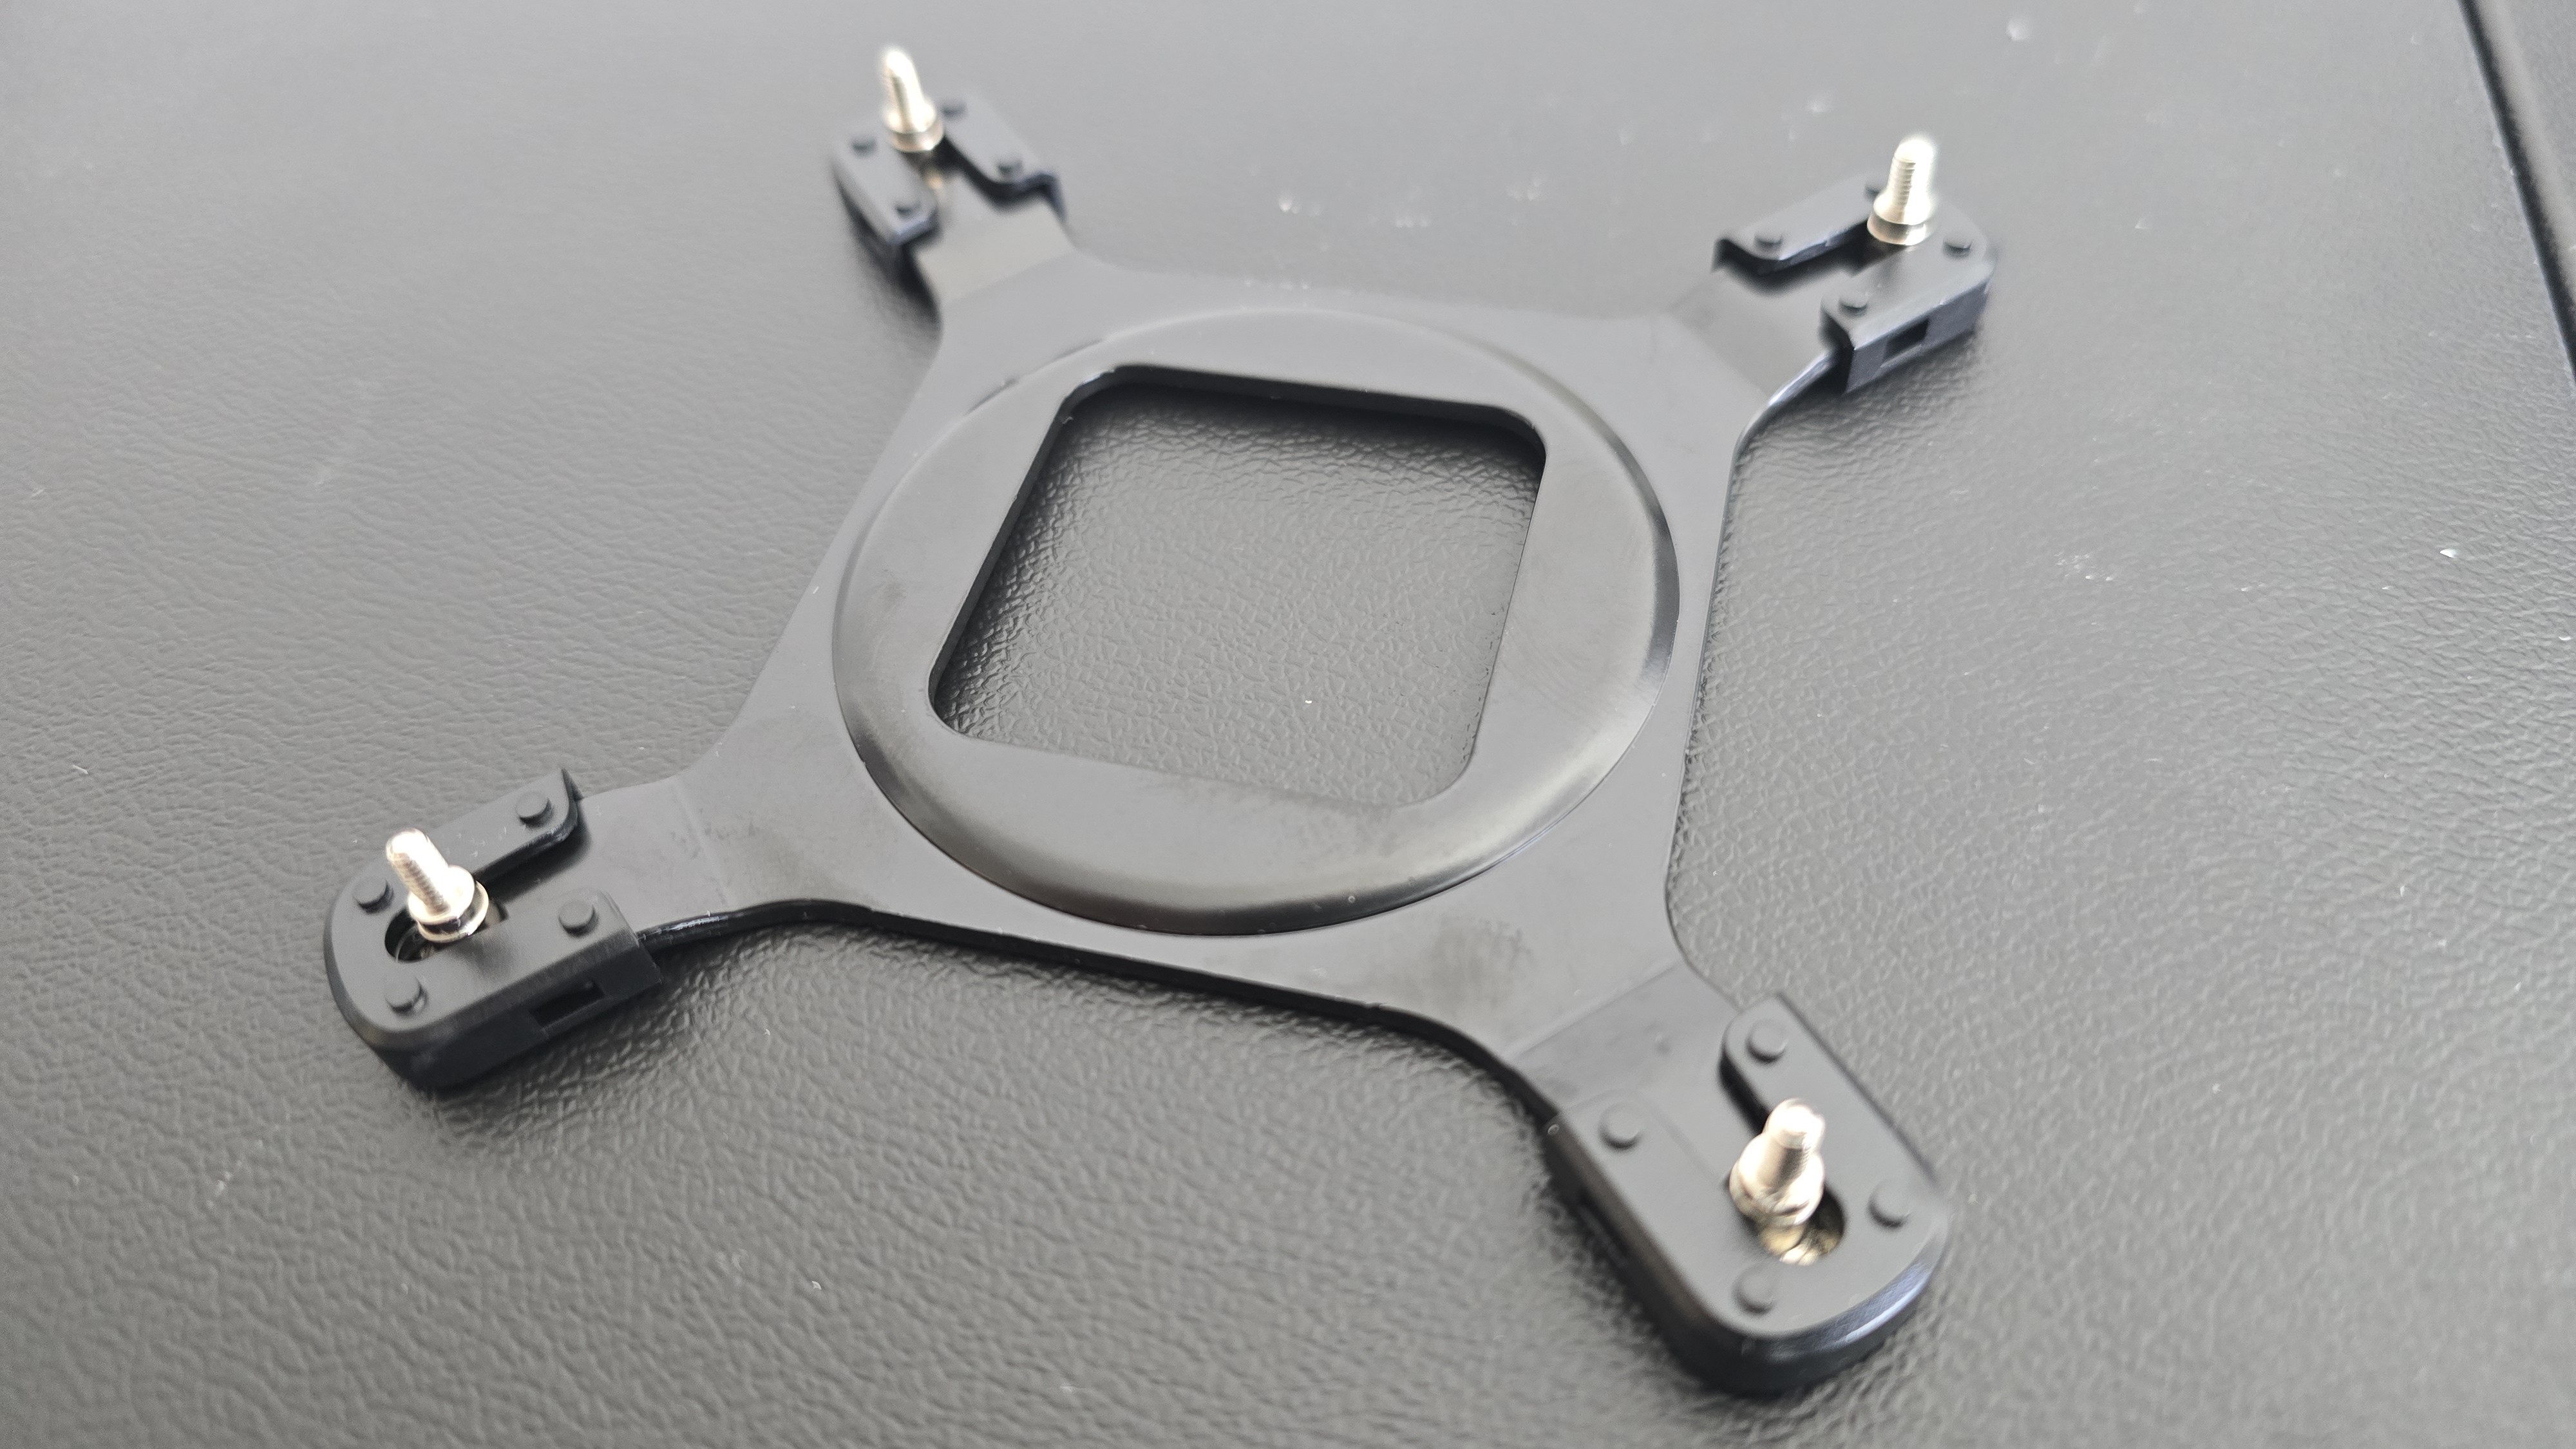
▶️ High-quality backplate
The backplate included is sturdy and won’t bend under typical conditions.
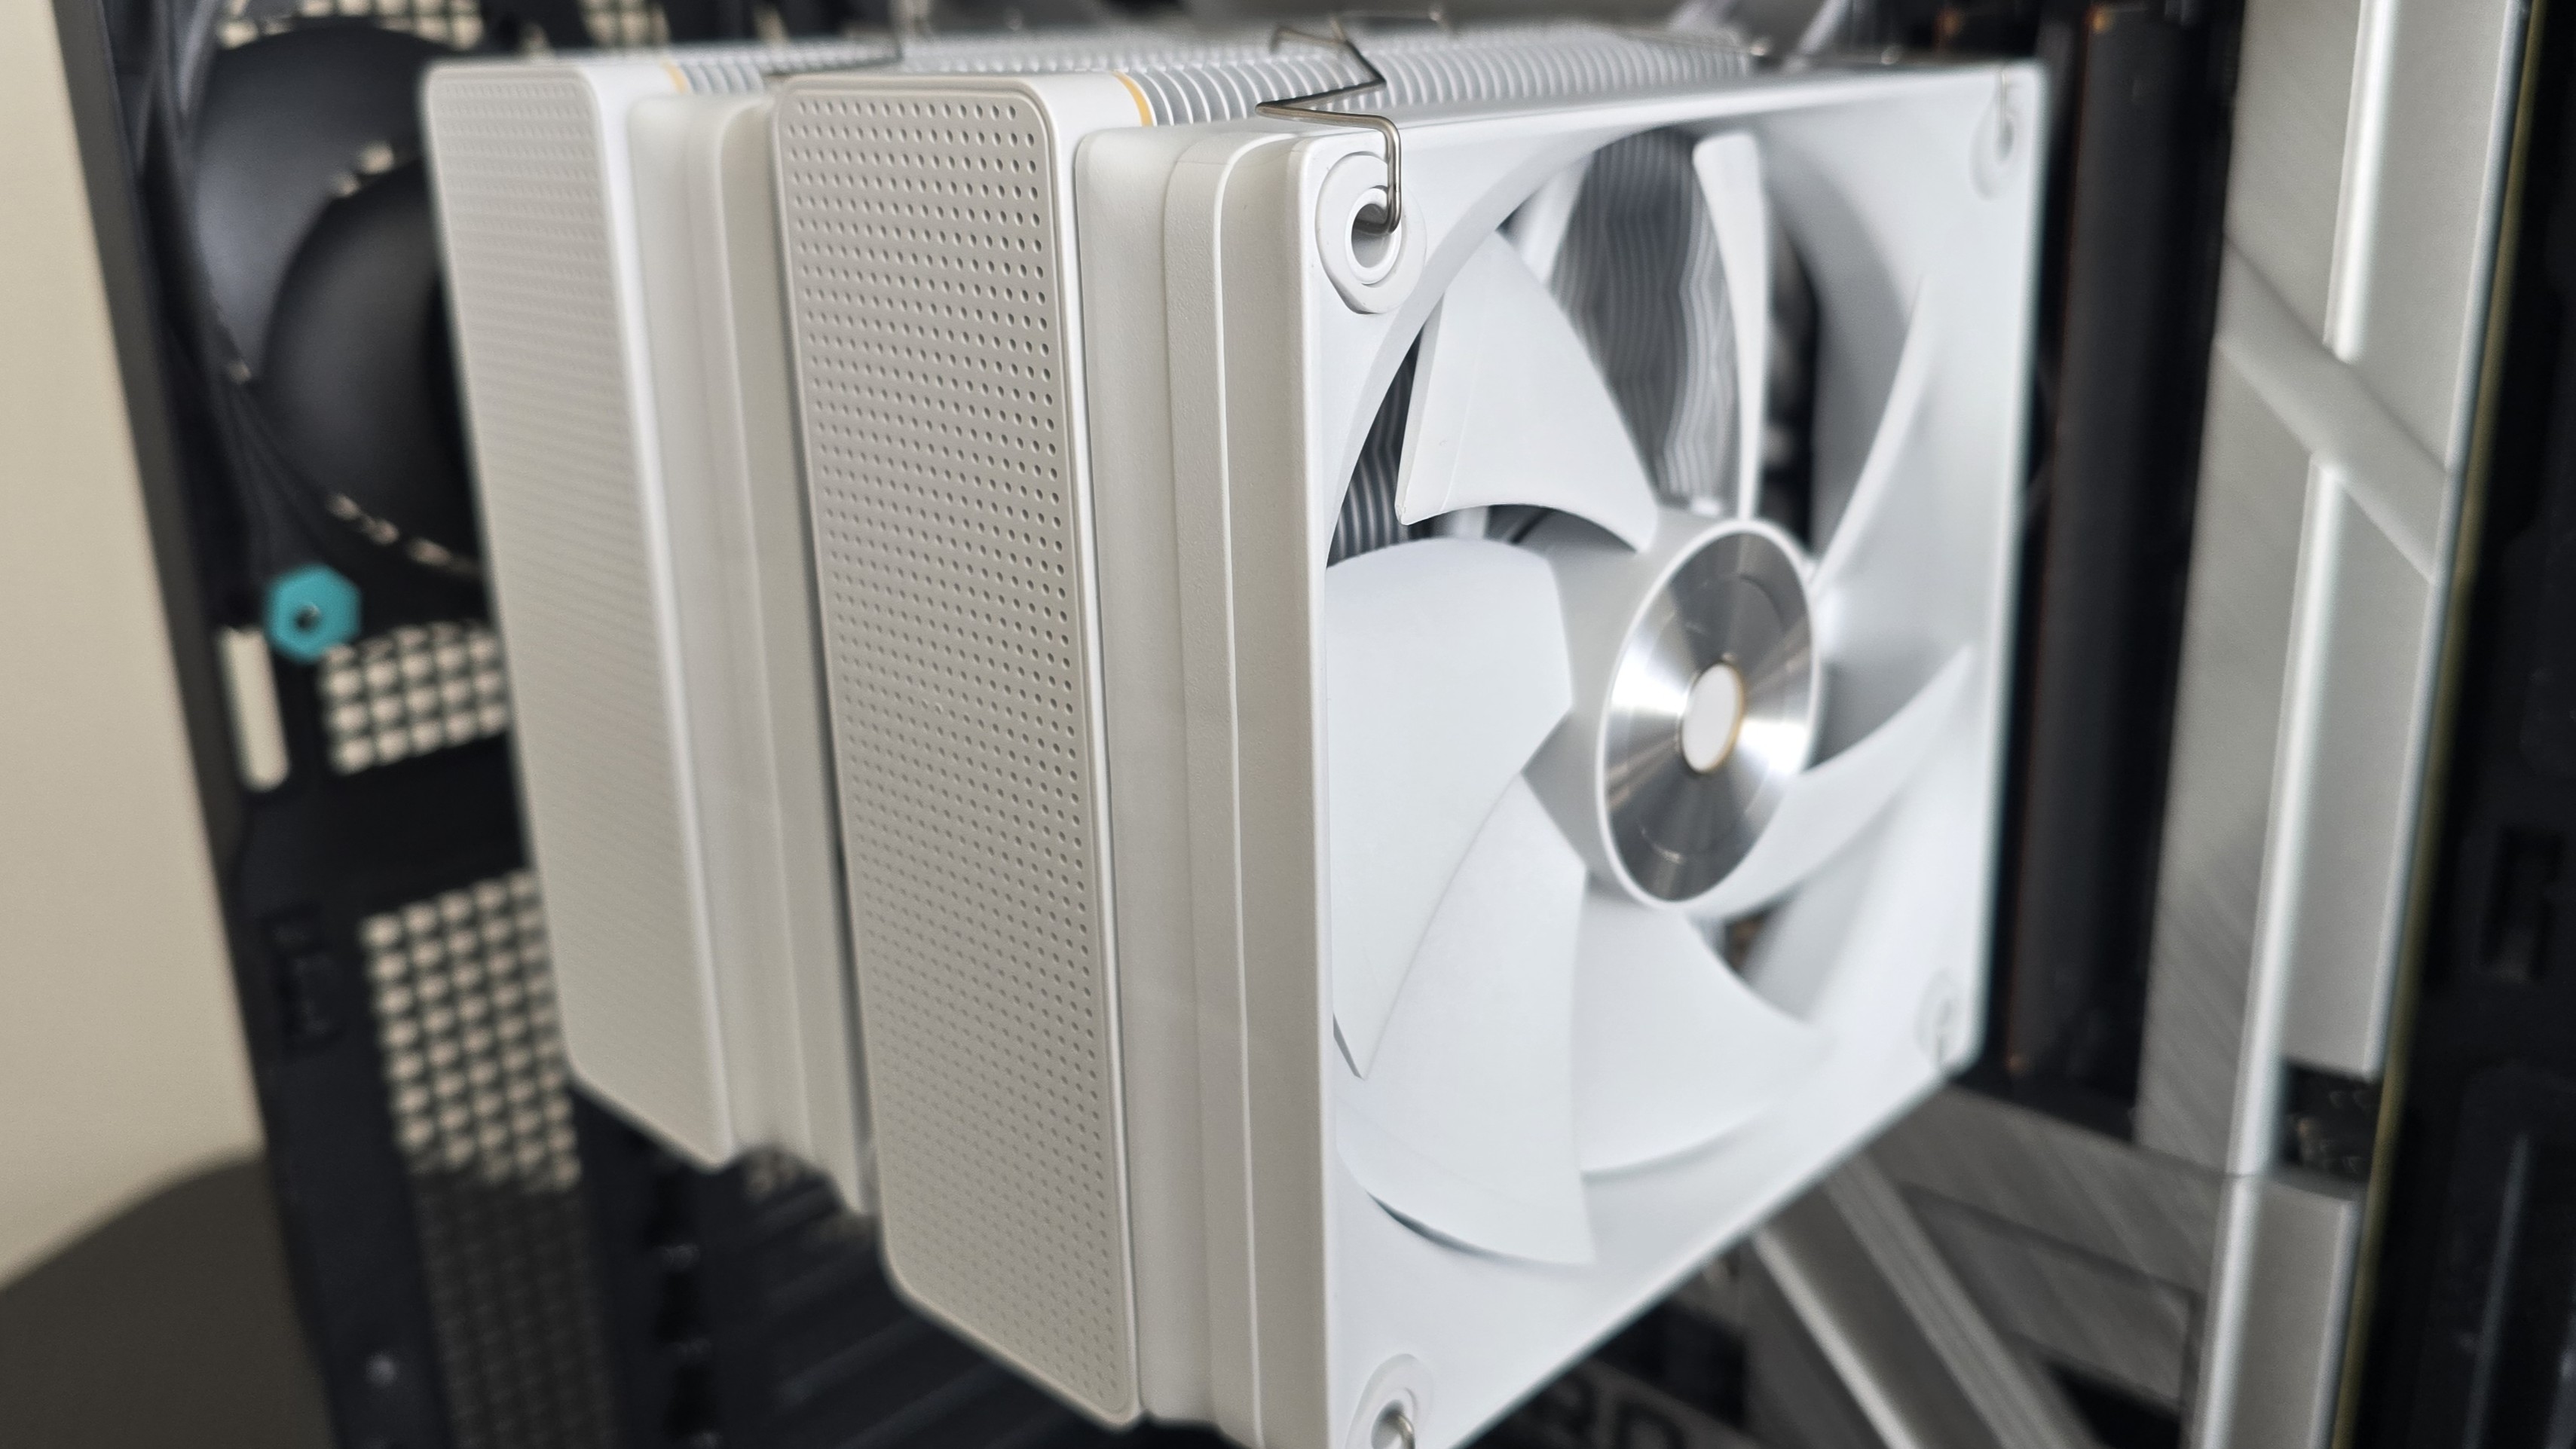
▶️ Two 120mm fans
There’s more to a cooler than just the heatsink or radiator. The bundled fans have a significant impact on cooling and noise levels, as well as how the cooler looks in your case. Ocypus includes two 120mm fans of unspecified model with the Iota A62 WH. These are all white and include a silver etched metal cover above the fan bearings. This version of the A62 doesn’t feature ARGB lighting, but there are models with ARGB fans for those who desire it.
One thing I appreciated about these fans is that on the lower end of fan curves, their noise levels remained relatively low – ensuring quiet operation in common workloads.

Swipe to scroll horizontally
Model | Unknown |
Dimensions | 120 x 120 x 25mm |
Fan Speed | 5000-2000 RPM ± 10% |
Air Flow | Up to 77 CFM |
Air Pressure | Up to 4.65 mmH2O |
Bearing Type | FDB |
MTTF | Unlisted |
Lighting | None, but ARGB variants are available |
Testing configuration, Intel LGA1700/1851 platform
Swipe to scroll horizontally
CPU | Intel Core i7-14700K |
GPU | ASRock Steel Legend Radeon 7900 GRE |
Motherboard | MSI Z790 Project Zero |
Case | MSI Pano 100L PZ Black |
System Fans | Iceberg Thermal IceGale Silent |
There are many factors other than the CPU cooler that can influence your cooling performance, including the case you use and the fans installed in it. A system's motherboard can also influence this, especially if it suffers from bending, which results in poor cooler contact with the CPU.
To prevent bending from impacting our cooling results, we’ve installed Thermalright’s LGA 1700 contact frame into our testing rig. If your motherboard is affected by bending, your thermal results will be worse than those shown below. Not all motherboards are affected equally by this issue. I tested Raptor Lake CPUs in two motherboards. And while one of them showed significant thermal improvements after installing Thermalright’s LGA1700 contact frame, the other motherboard showed no difference in temperatures whatsoever! Check out our review of the contact frame for more information.
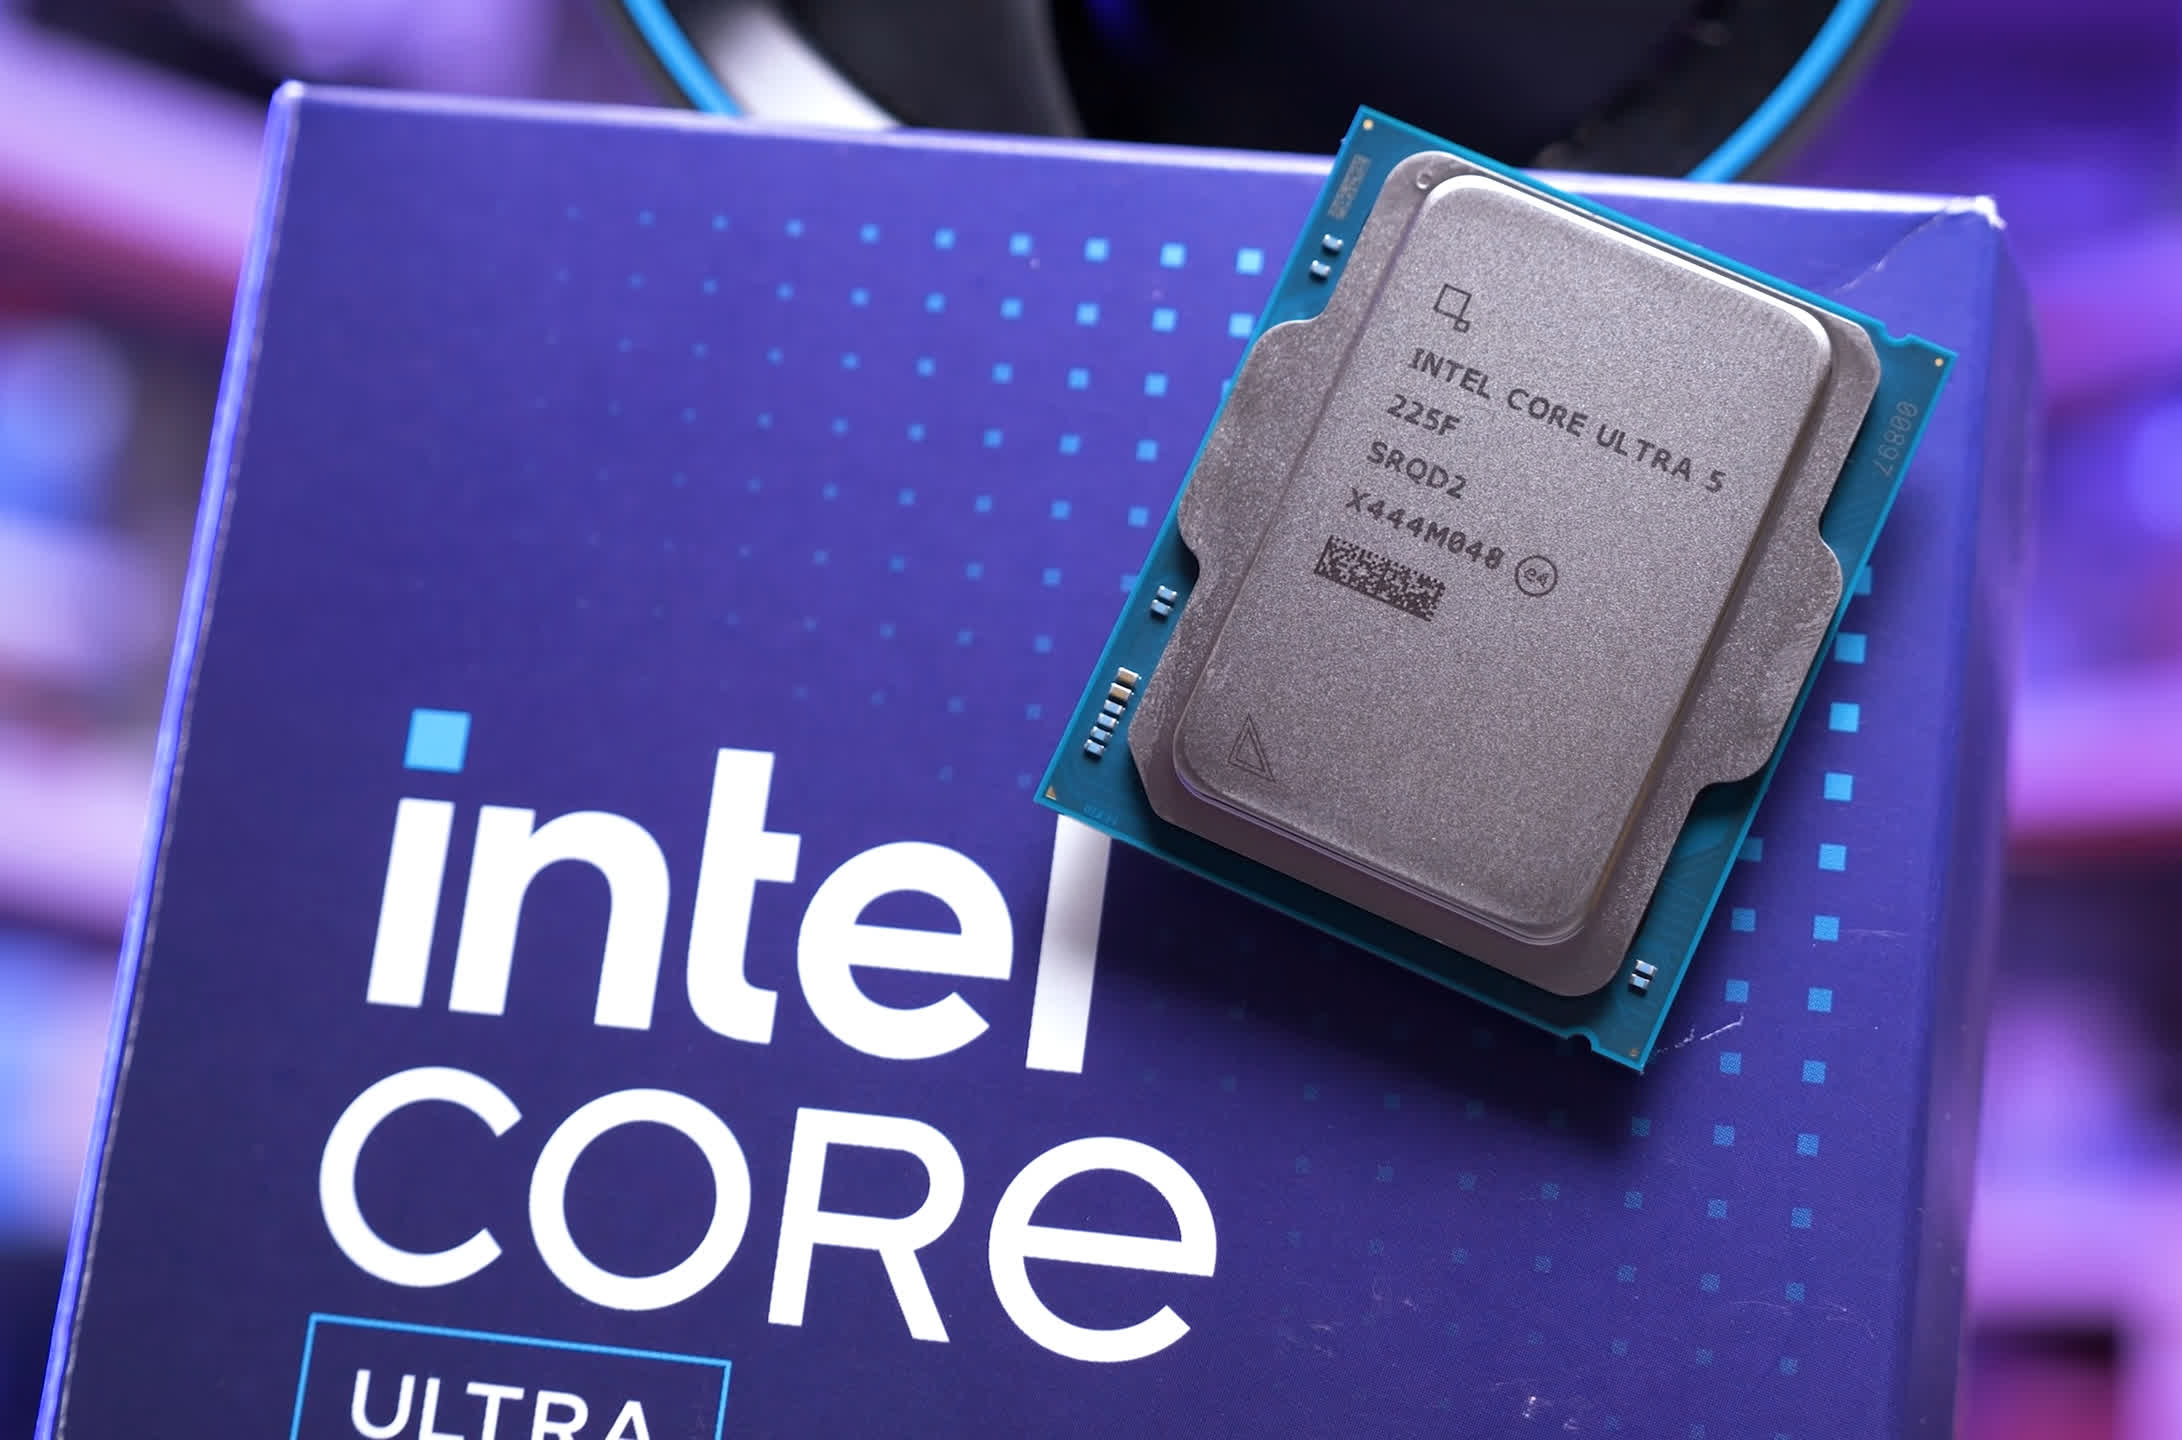
I’ve also tested this cooler with Intel’s latest platform, Arrow Lake and the LGA 1851 socket.
The information provided in this review will let you know the following:
1. The maximum thermal performance of this cooler
2. The maximum noise levels of this cooler
3. If the cooler performs well when noise-normalized to a low volume level
4. Temperature and noise levels when tied to a default motherboard fan curve in common scenarios like gaming
5. Thermal results when Intel’s recommended PL2 of 253w is enforced.
Swipe to scroll horizontally
CPU | Intel Core Ultra 9 285K |
GPU | MSI Ventus 3X RTX 4070Ti Super |
Motherboard | MSI Z890 Carbon Wifi |
Case | |
System fans | Pre-installed case fans |
LGA 1700 and 1851 Installation
The installation of this cooler is simple and should be easy to complete for most users.
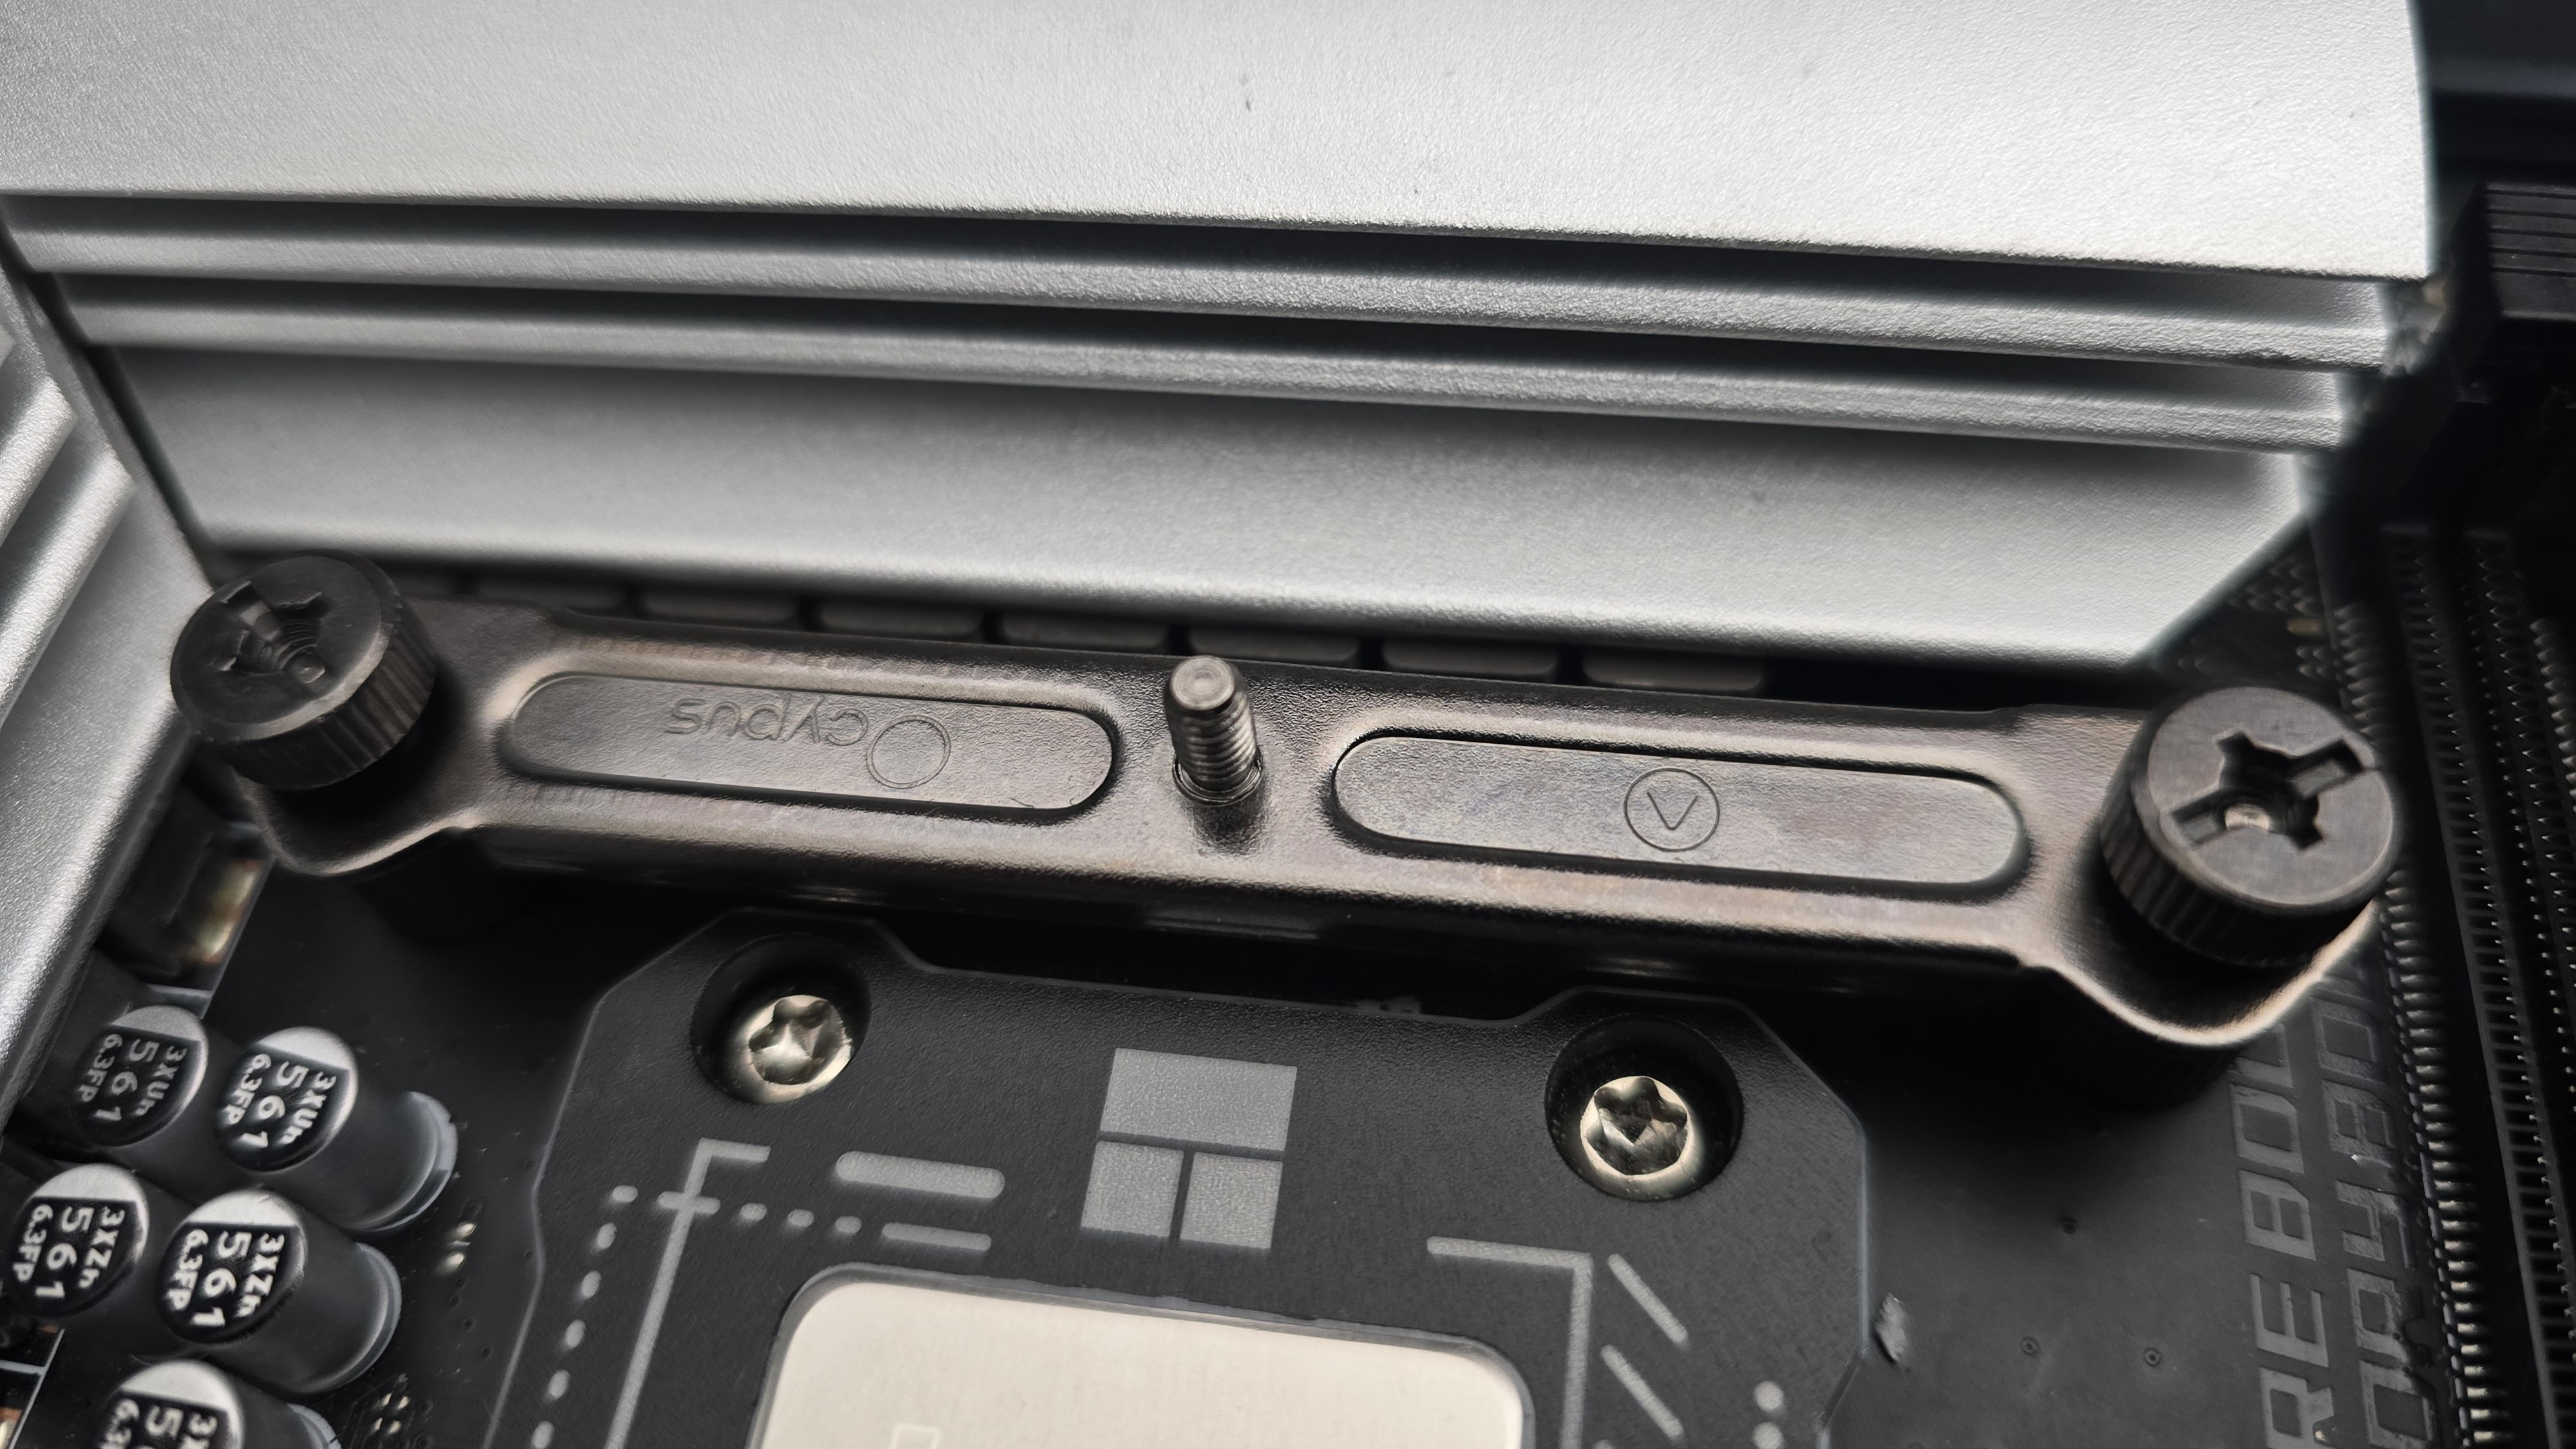
1. You’ll first need to place the backplate against the rear of the motherboard, and then use the included standoffs to secure it.
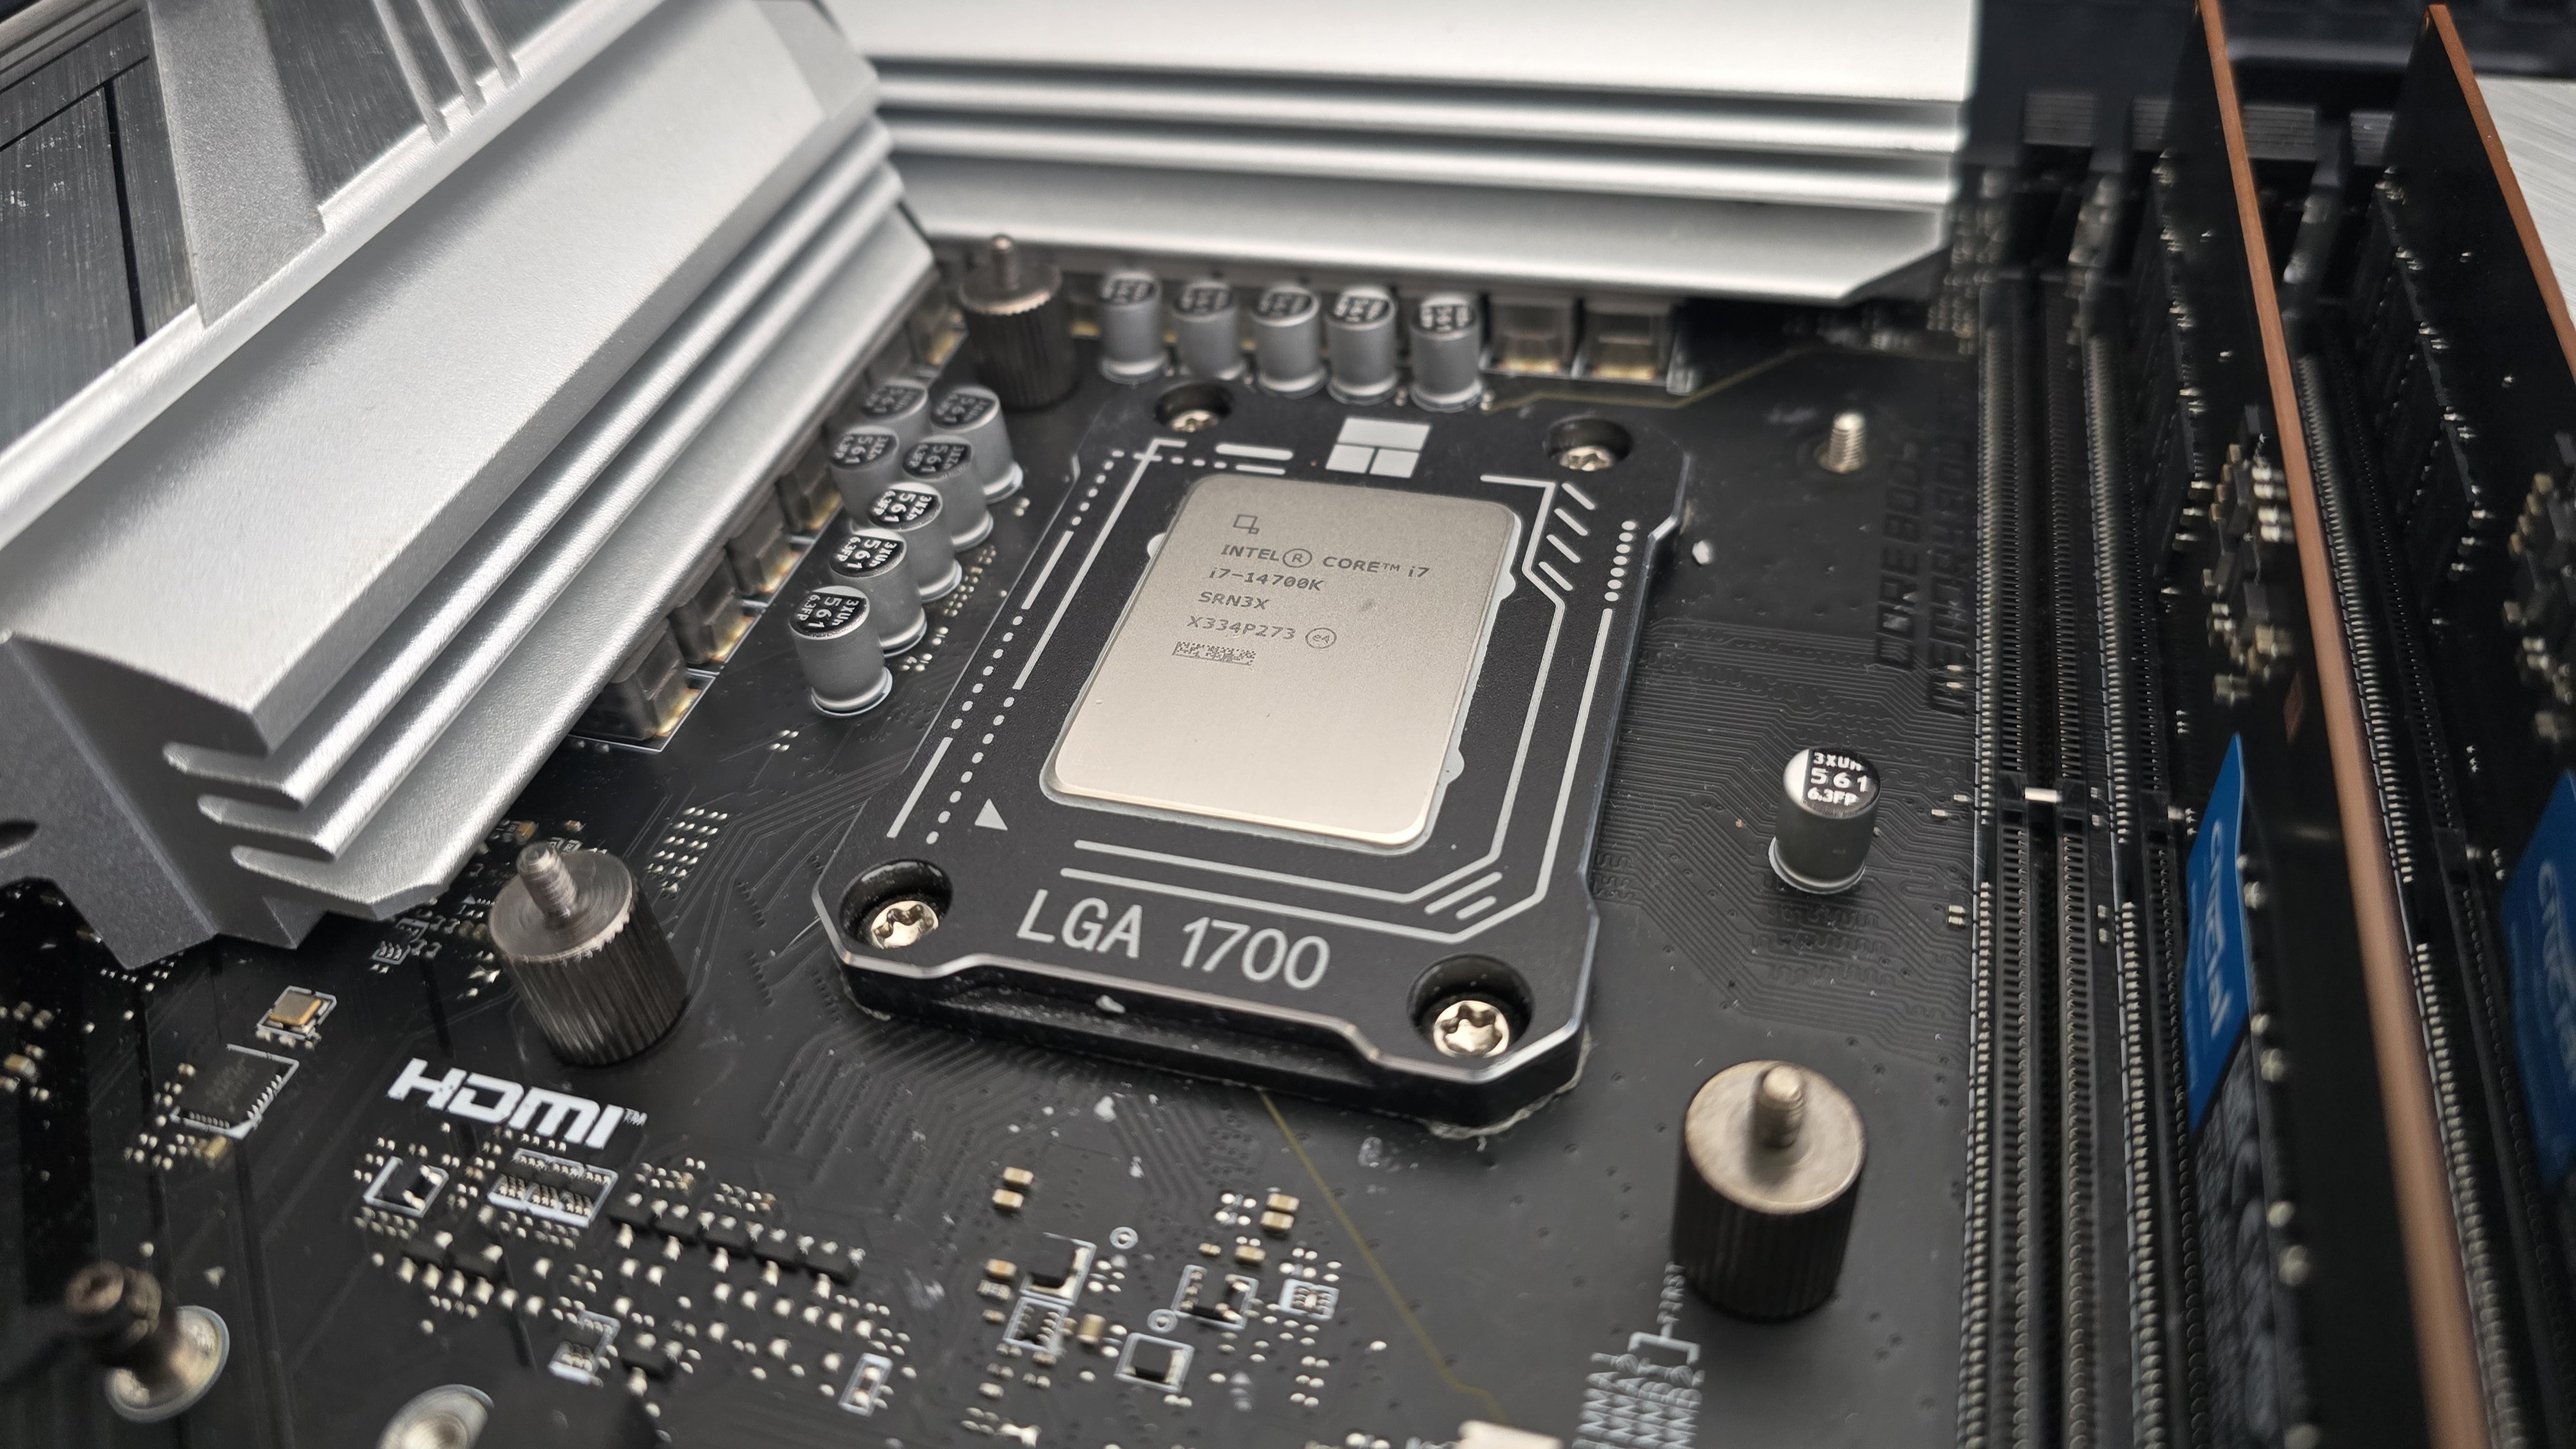
2. Next, you’ll secure the backplate by attaching the mounting bars and securing them with the included screws.
3. Apply the included thermal paste to your CPU. If you have any questions on how to do this properly, please refer to our handy guide on how to apply thermal paste.
4. Place the CPU block on top of the CPU and secure it with a screwdriver. You’ll need to remove the middle fan to do this.
5. Re-attach the fan and then connect the PWM cables of the fans to each other and then to your motherboard. You’ll need to connect the USB cord to utilize the dot matrix display.
6. Afterwards, power on your computer as the installation is complete.


 English (US) ·